Installing the Stripe app
This article is for the Veluril Stripe App only. If you are using Veluril anywhere else, please use the main help articles: help.veluril.com
Install the Veluril app in your Stripe Dashboard and a Stripe sale delivers your content automatically. Your recipient gets an email with a link to their private download page, with your name on it, moments after the sale.
Installing takes two steps: install the app in Stripe, then connect your Veluril library to it. If you don’t have a Veluril library yet, you create one along the way.
Installing the app
Find Veluril on the Stripe App Marketplace and click the "Install app" button, then choose your Stripe account. Before anything is installed, Stripe shows you exactly what Veluril is asking for. Click the "Install app" button:
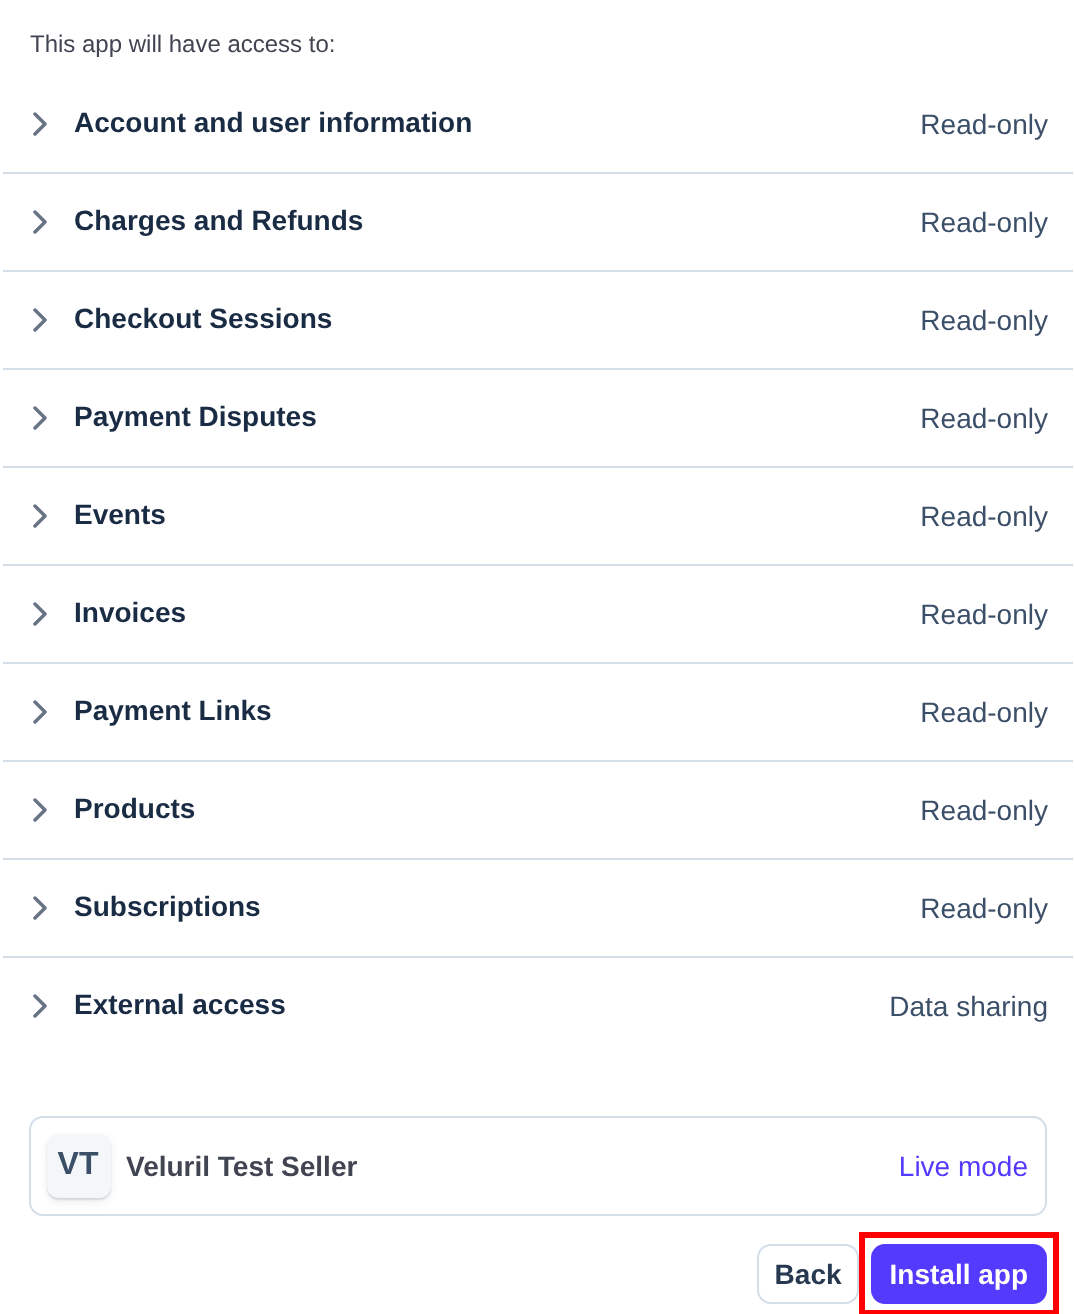
Every permission Veluril asks for is read-only.
Veluril reads your sales, products, invoices, subscriptions, refunds and disputes so it knows what to deliver, and to whom. It never moves money, and it never changes your Stripe account or your products.
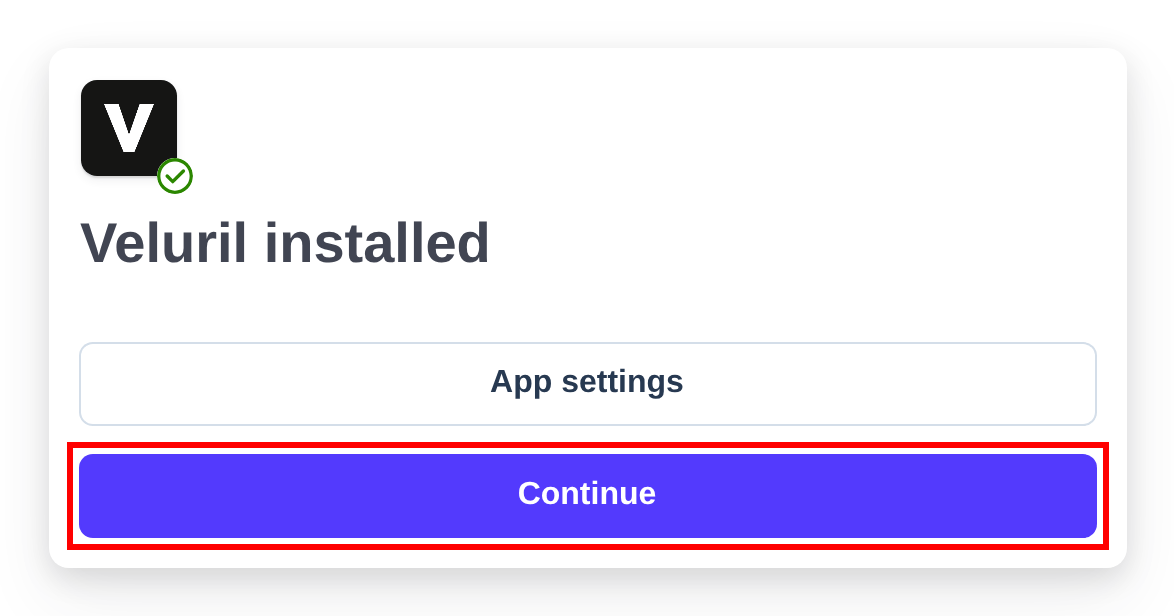
Stripe confirms Veluril is installed. Click the "Continue" button to open Veluril’s onboarding:
Connecting your Veluril library
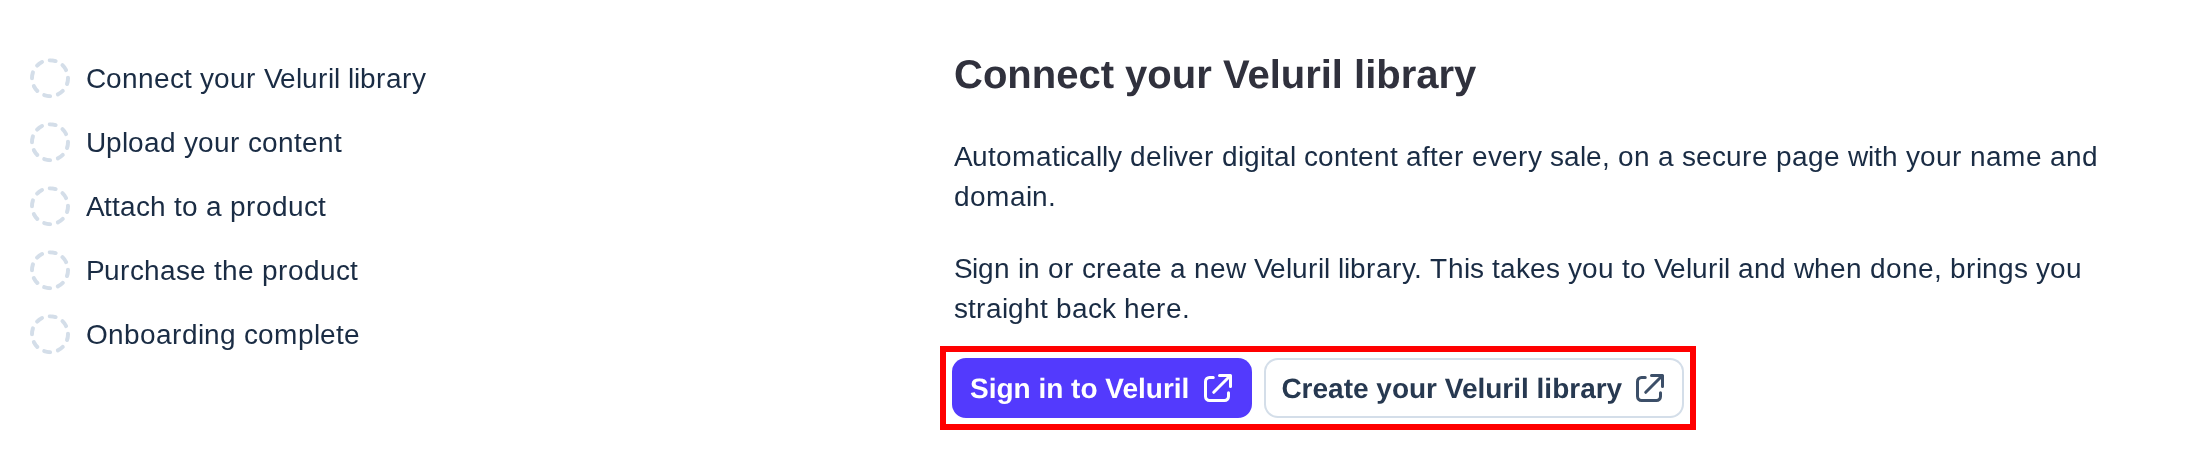
The onboarding opens on its first step, Connect your Veluril library. It has two buttons: one for a library you already have, and one to create a new library:
If you already have a Veluril library
Click the "Sign in to Veluril" button. Veluril opens, and you sign in as you always do, with your email, password and two-step code.
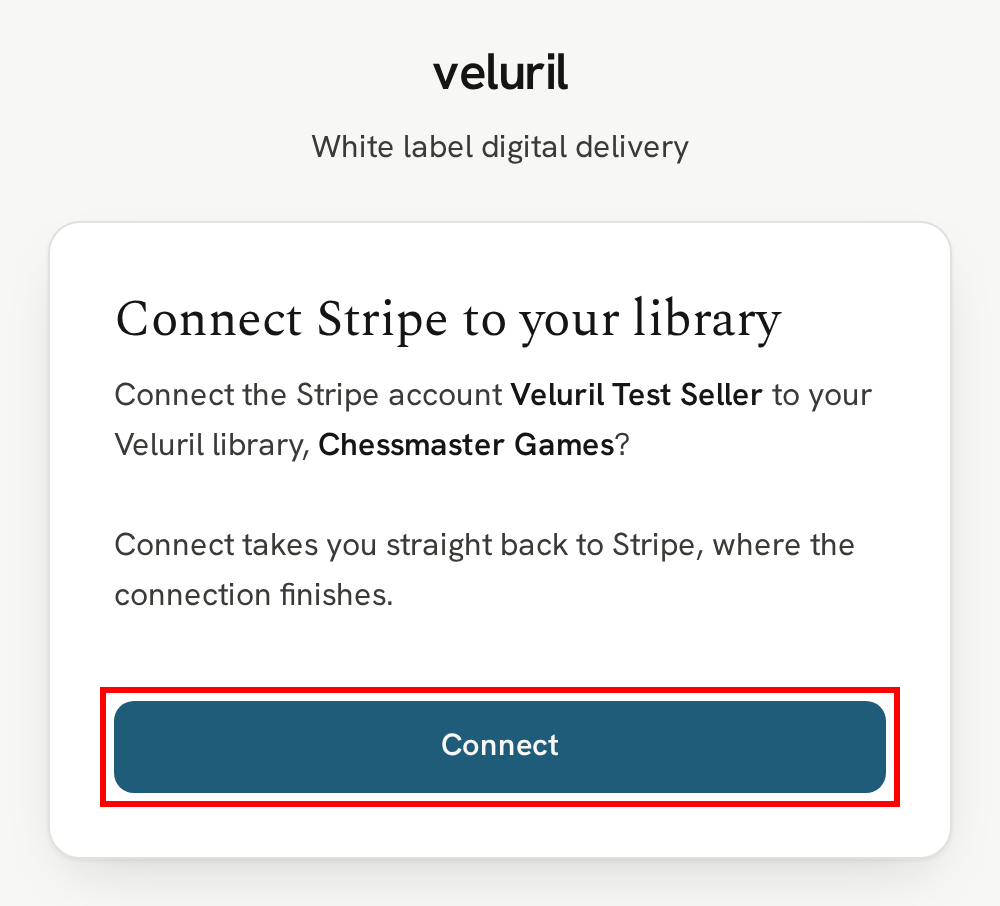
Veluril then asks you to confirm the connection, naming both the Stripe account and your library. Click the "Connect" button:
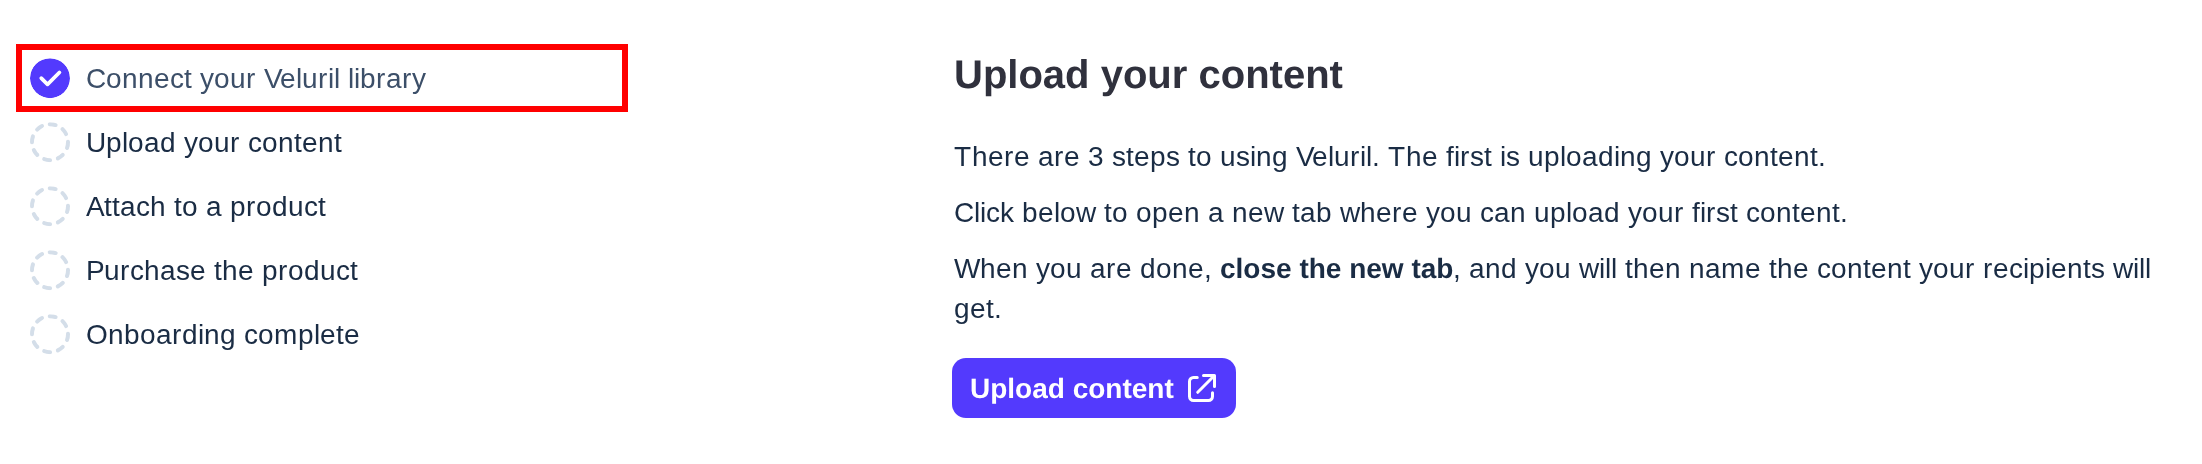
You go straight back to Stripe. Connect your Veluril library is ticked, and the onboarding is on its next step:
If you are new to Veluril
Click the "Create your Veluril library" button. Veluril opens on its sign-up page: create your library, confirm your email, and finish the welcome steps.
The last welcome step has a "Finish and return to Stripe" button. Click it:
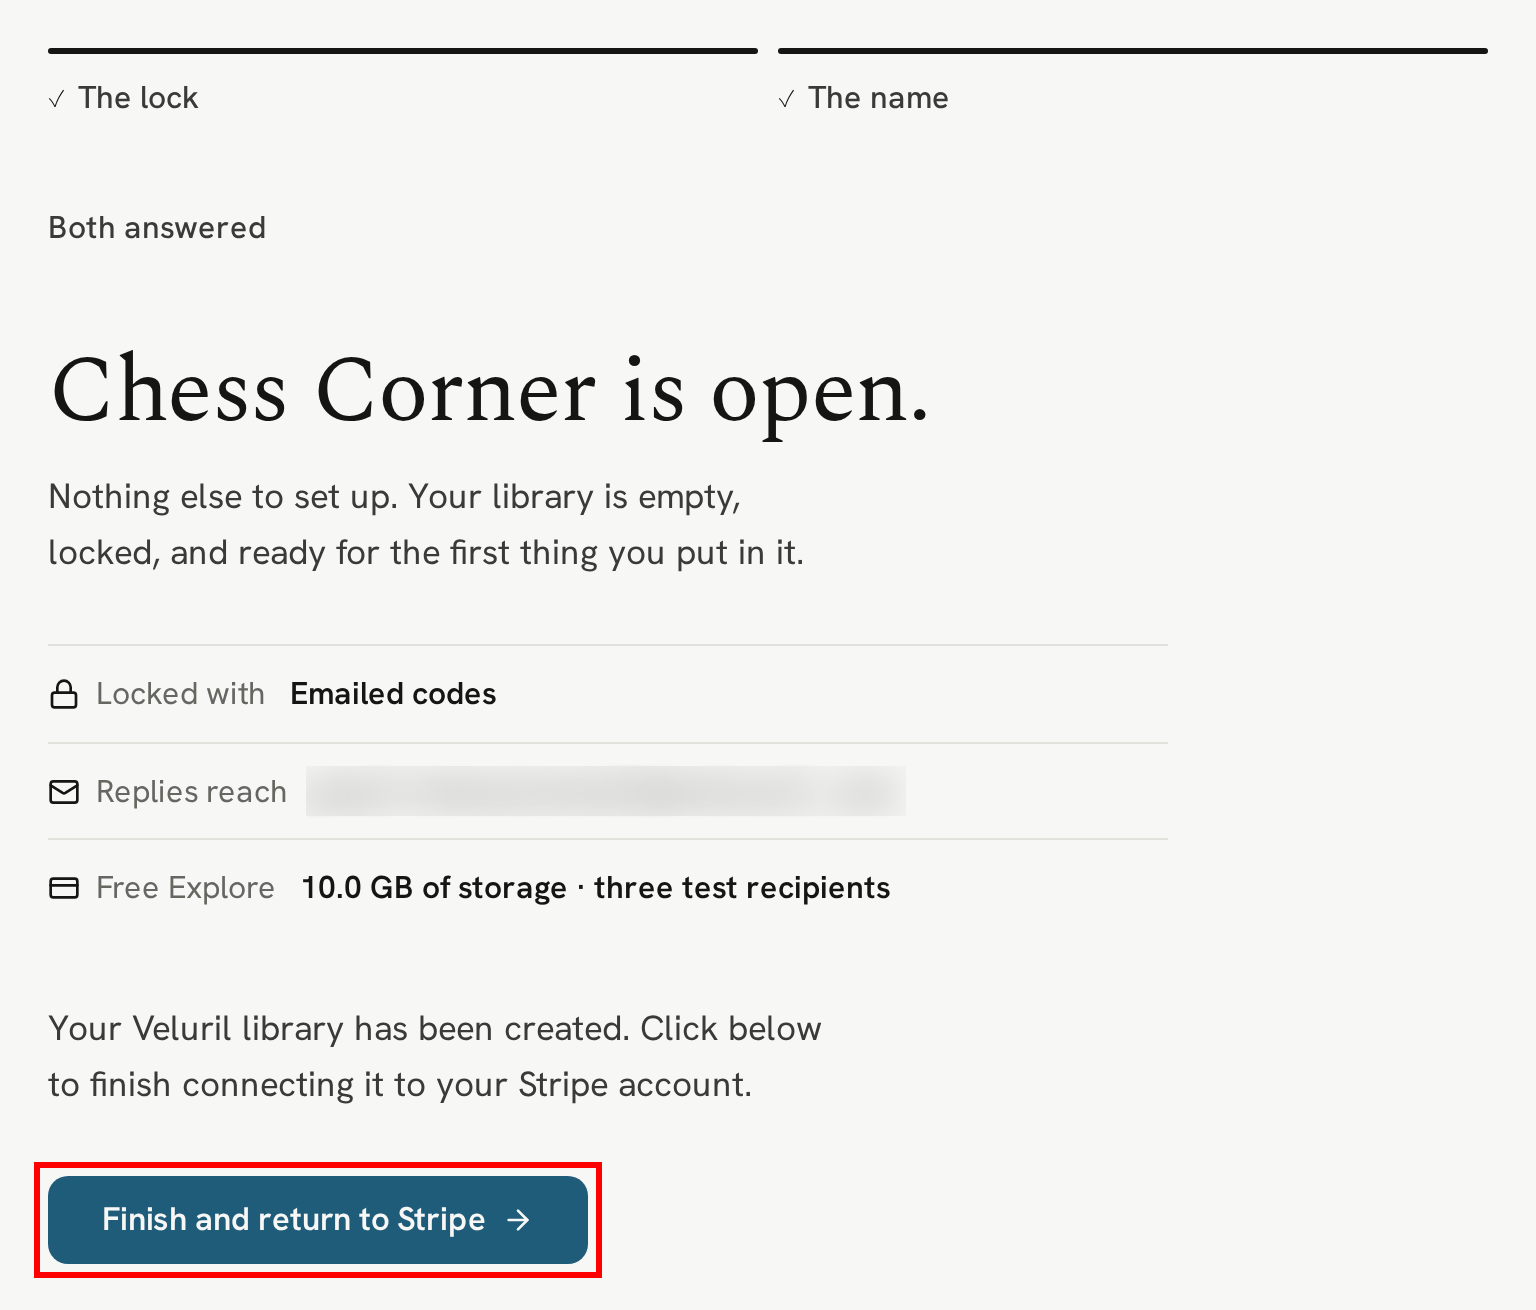
You go straight back to Stripe, with your new library connected and the onboarding on its next step.
A new library starts on Free Explore, so you can set everything up and try a real delivery before you pay anything. See Free Explore test recipients.
Sandboxes and live mode
A Stripe sandbox, or test mode, connects to your Veluril library separately from live mode. Try it out in a sandbox first if you like, then connect again in live mode when you are ready for real sales.
One Stripe account, one library
A Stripe account can be connected to one Veluril library at a time. Only an Administrator of the Stripe account can connect Veluril.
Next
Your library is connected, and the onboarding moves on to its next step, Upload your content. From there it walks you through attaching your content to a product, then Purchase the product, so you see exactly what your recipient receives.
Next → Onboarding in the Stripe app