Three steps to your first delivery
The core of Veluril is just three steps: upload -> bundle -> deliver.
You upload a digital file. You add that content to a bundle (the package that's sent to your recipient), and then you deliver it.
Let's look at each step in more detail.
Step one: upload
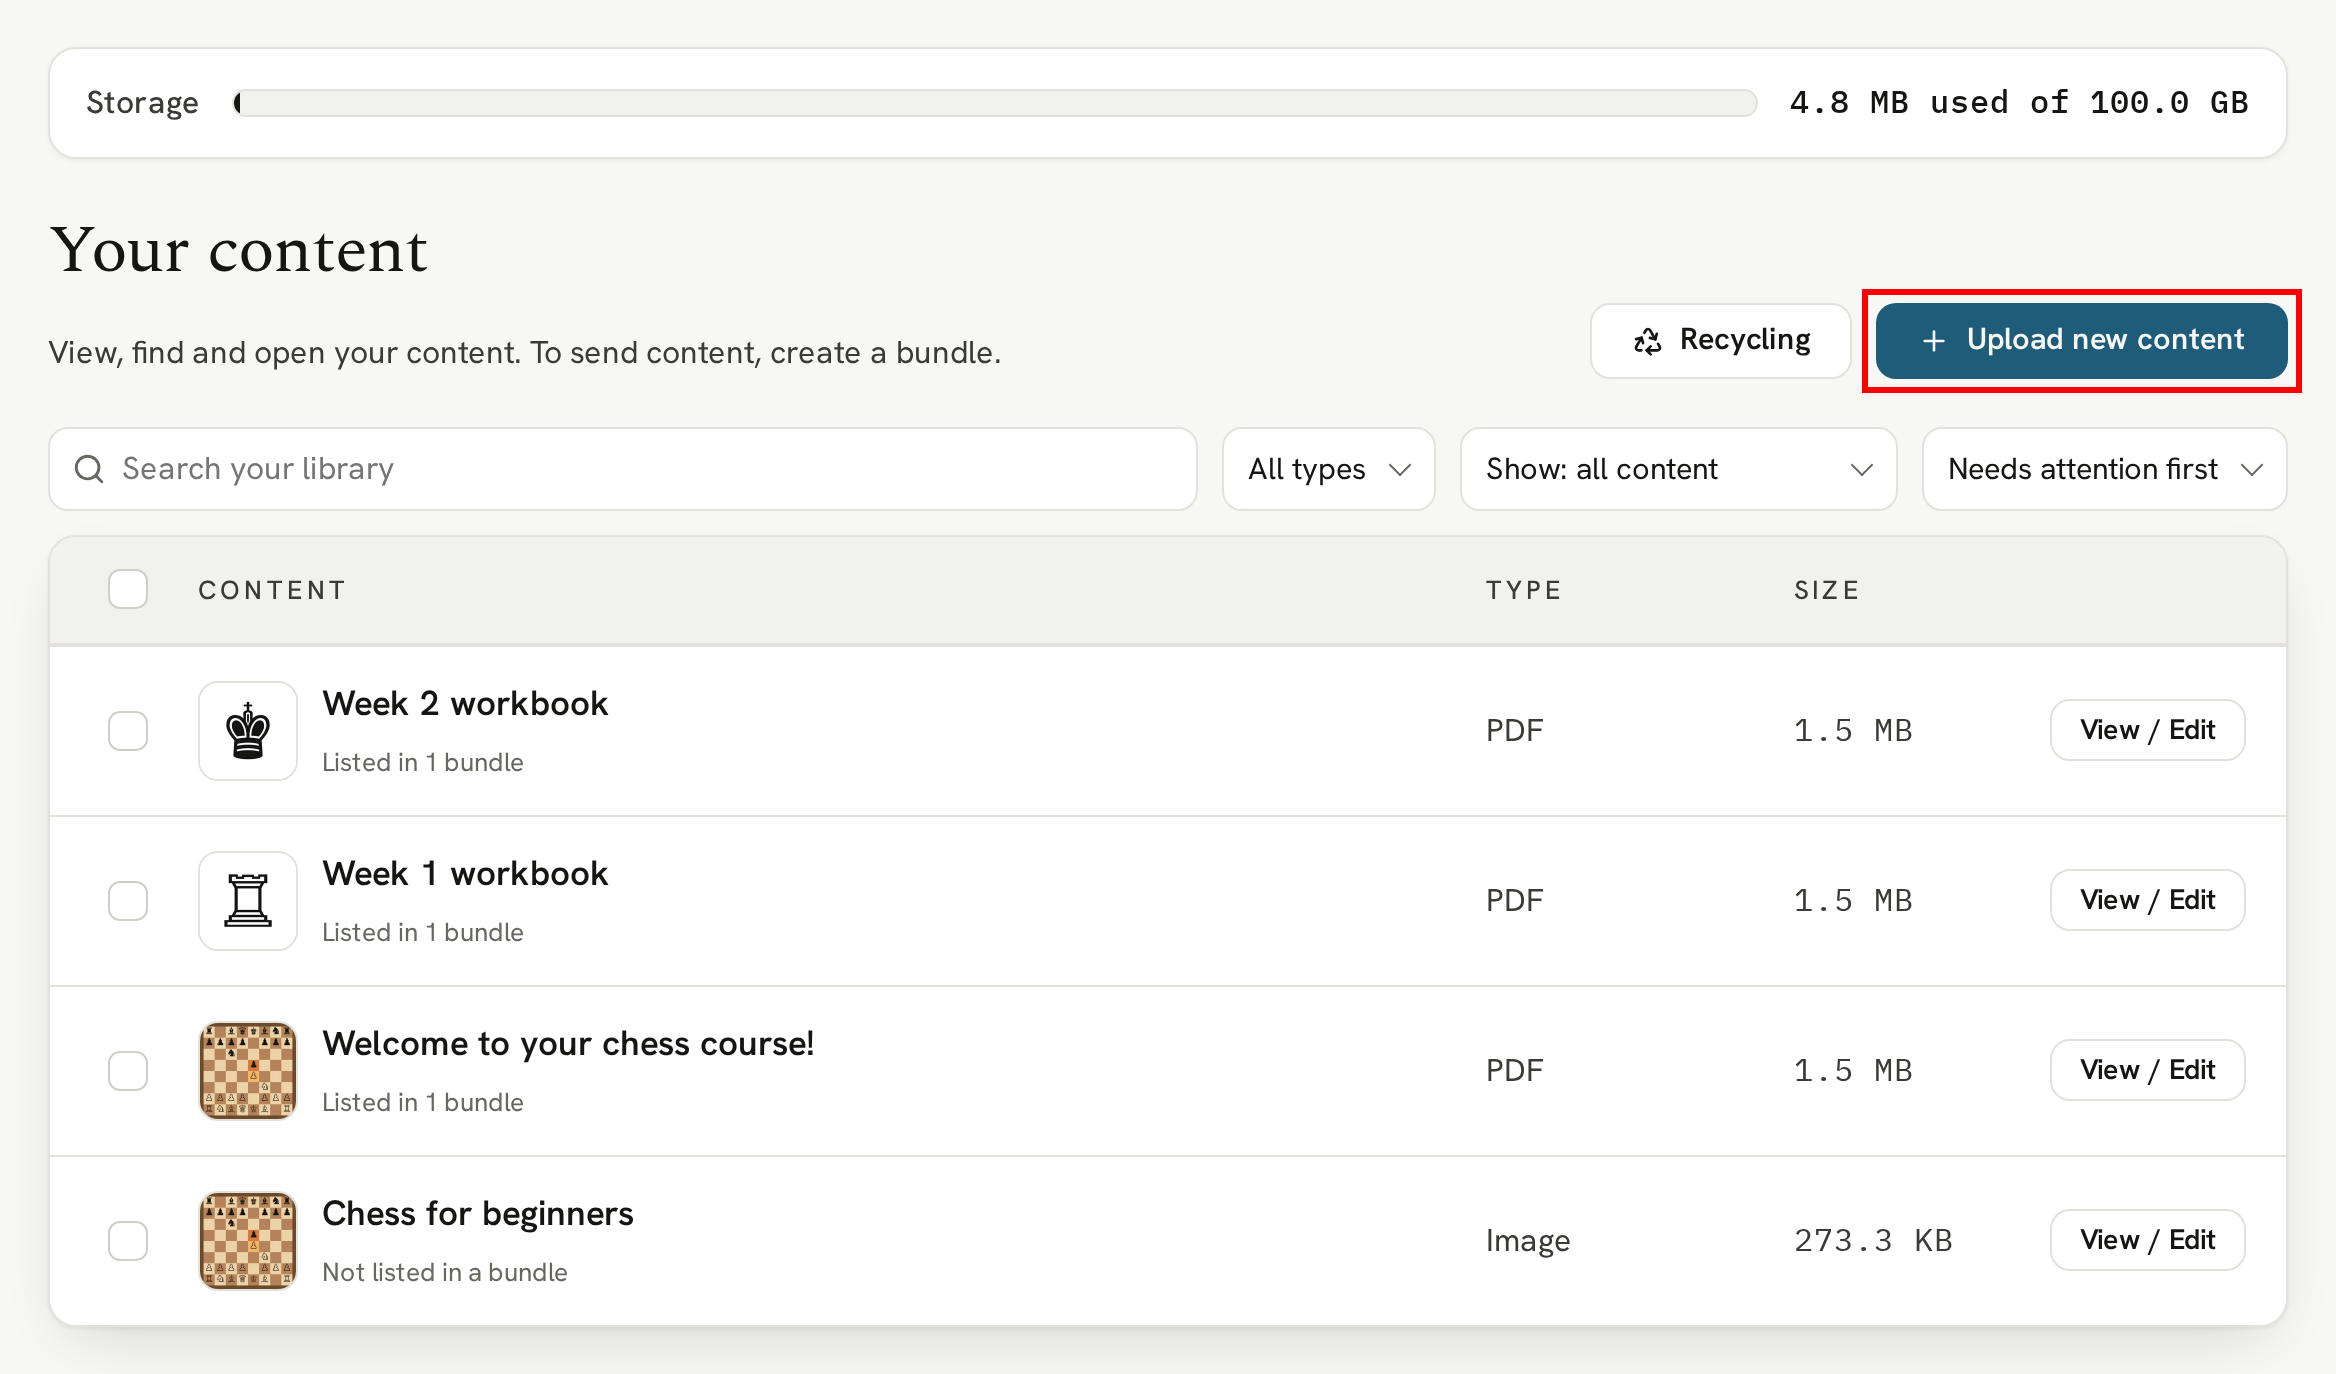
The very first step is to upload your content. Head to the content page in your Veluril Library and click the '+ Upload new content' button:
Select a file to upload (you can upload up to 10 files for bulk content creation but let's stick to one for now):
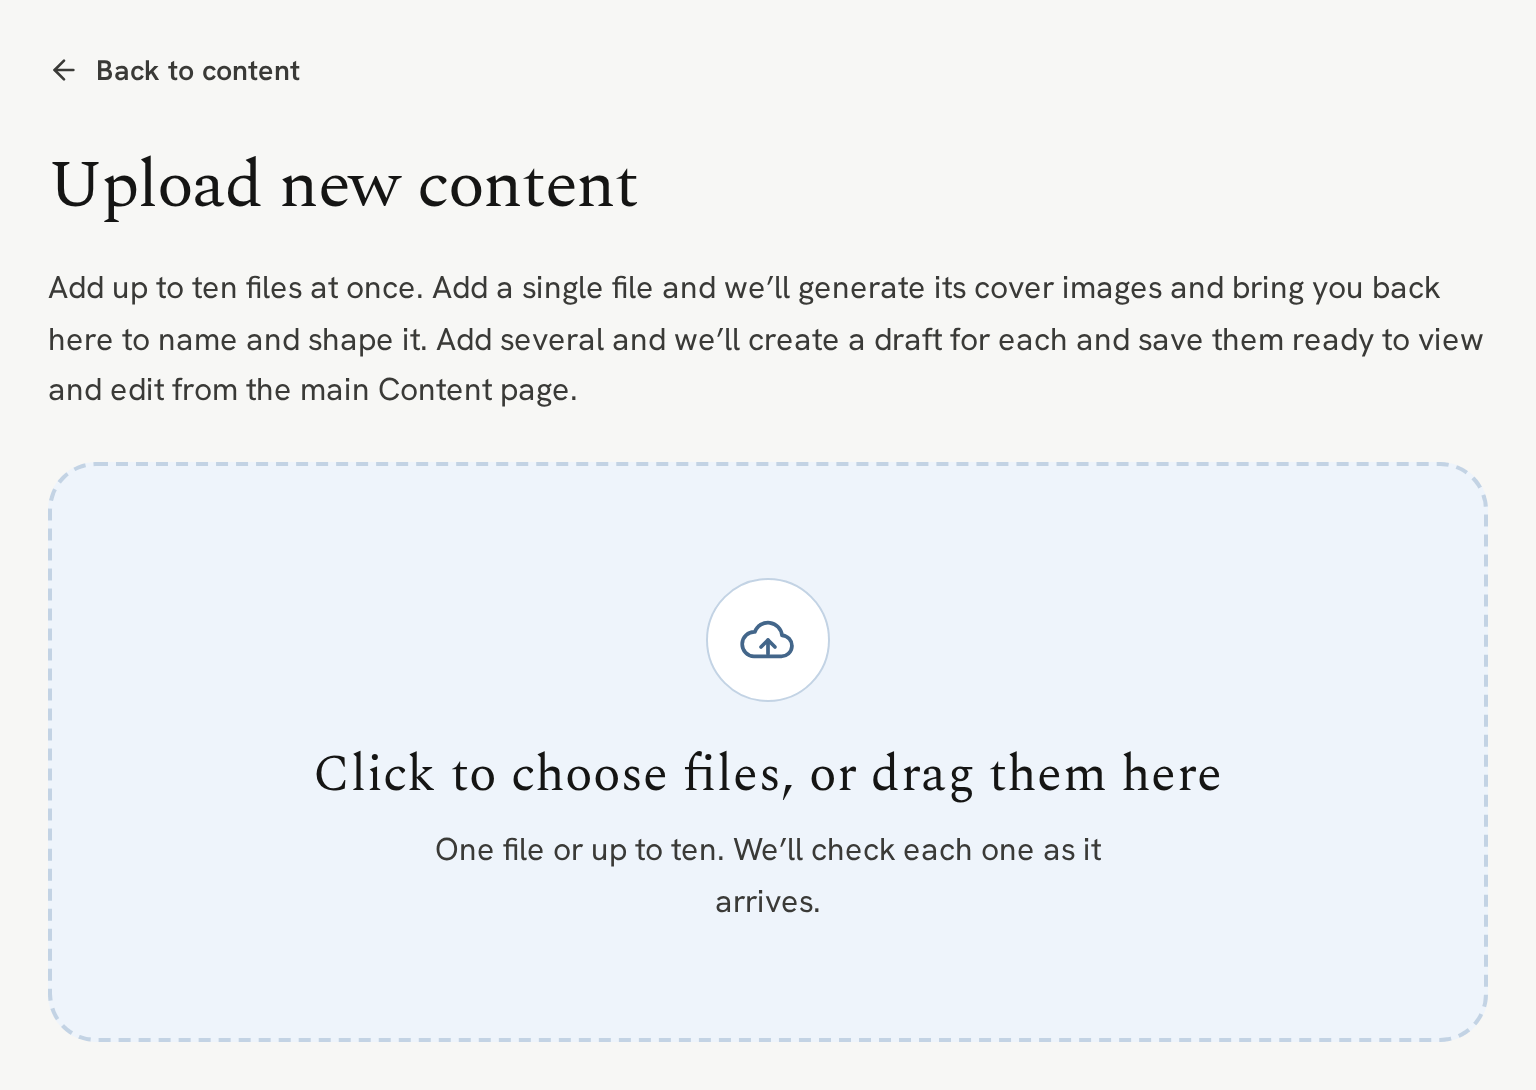
That will then take you to the Content details page where the first thing is name it. What do you want your content to be named? It's not always the same name as the file you uploaded. Maybe it's "Chess for beginners":

Step two: bundle
Now you have the content you want your recipient to get. How do you package and send it?
You put it in a bundle. Whether it's one or a hundred items, create a bundle.
To do that for the content you just created, look further down, just below the beautiful cover image, for the Bundles card.
Click "+ Add to a new bundle". That will create a new bundle that contains the content (you can add more content to the bundle whenever you like and anyone who already received that bundle will also get the new items).
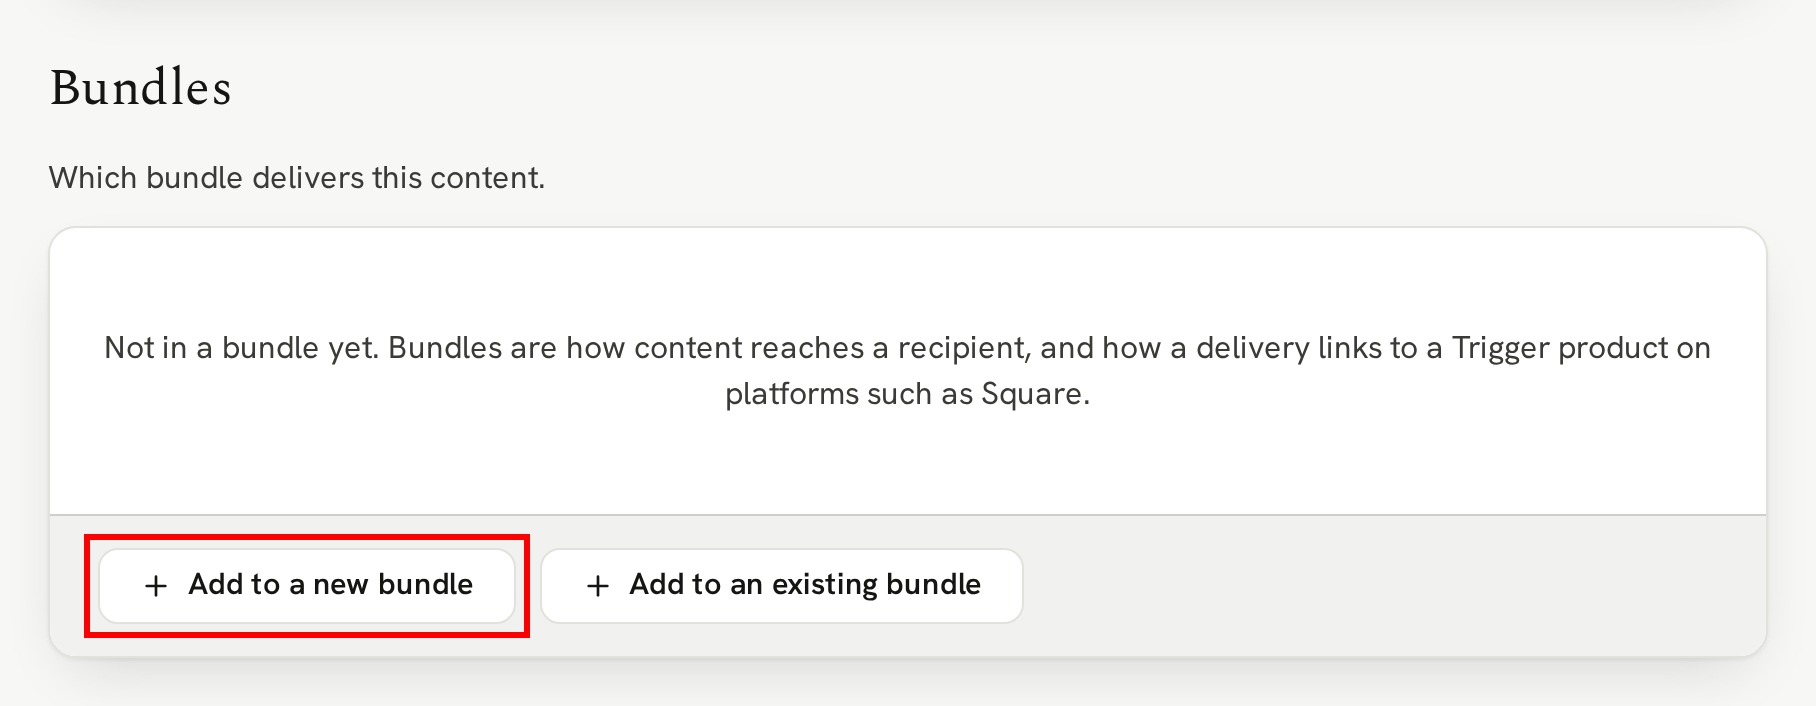
That will take you to the bundle details page.
You can rename it if you like. Perhaps the end bundle is named "Chess for beginners, part #1" and each item of content has a different name such as 'Welcome to the chess course' and 'Chess workbook'.
For now, you have one item of content but if you look below the bundle Cover image card you can see how easy it is to add more content.

Let's leave the bundle with one item and keep the name it inherited from the content: "Chess for beginners"
Step three: deliver
You've uploaded your content, added it to a bundle, and now you want to deliver it.
Click the "Deliver now" button:

That opens the Delivery modal. If you are on the Free Explore plan (which you will be when you first sign up with Veluril), it will show your authorized recipient email addresses.
Add a recipient name if you prefer and then click "Send delivery".

Done
That's it. Next we see the delivery confirmation with a link to the delivery details page and delivery ID.

And that's the basis of Veluril: upload -> bundle -> deliver.
Options
There are many more options and customizations to explore from uploading your own cover images, recycling content you don't need, mixing and matching content to create as many bundles as you like, to setting your own branding colors and logo.
One of the most popular options is linking your Veluril library to your Square account. That way you can link your bundles to Square Trigger products. That means that when someone buys the Square Trigger product, Veluril automatically generates the delivery and sends it to the recipient.
But at the core, it's upload -> bundle -> deliver.