Creating a bundle
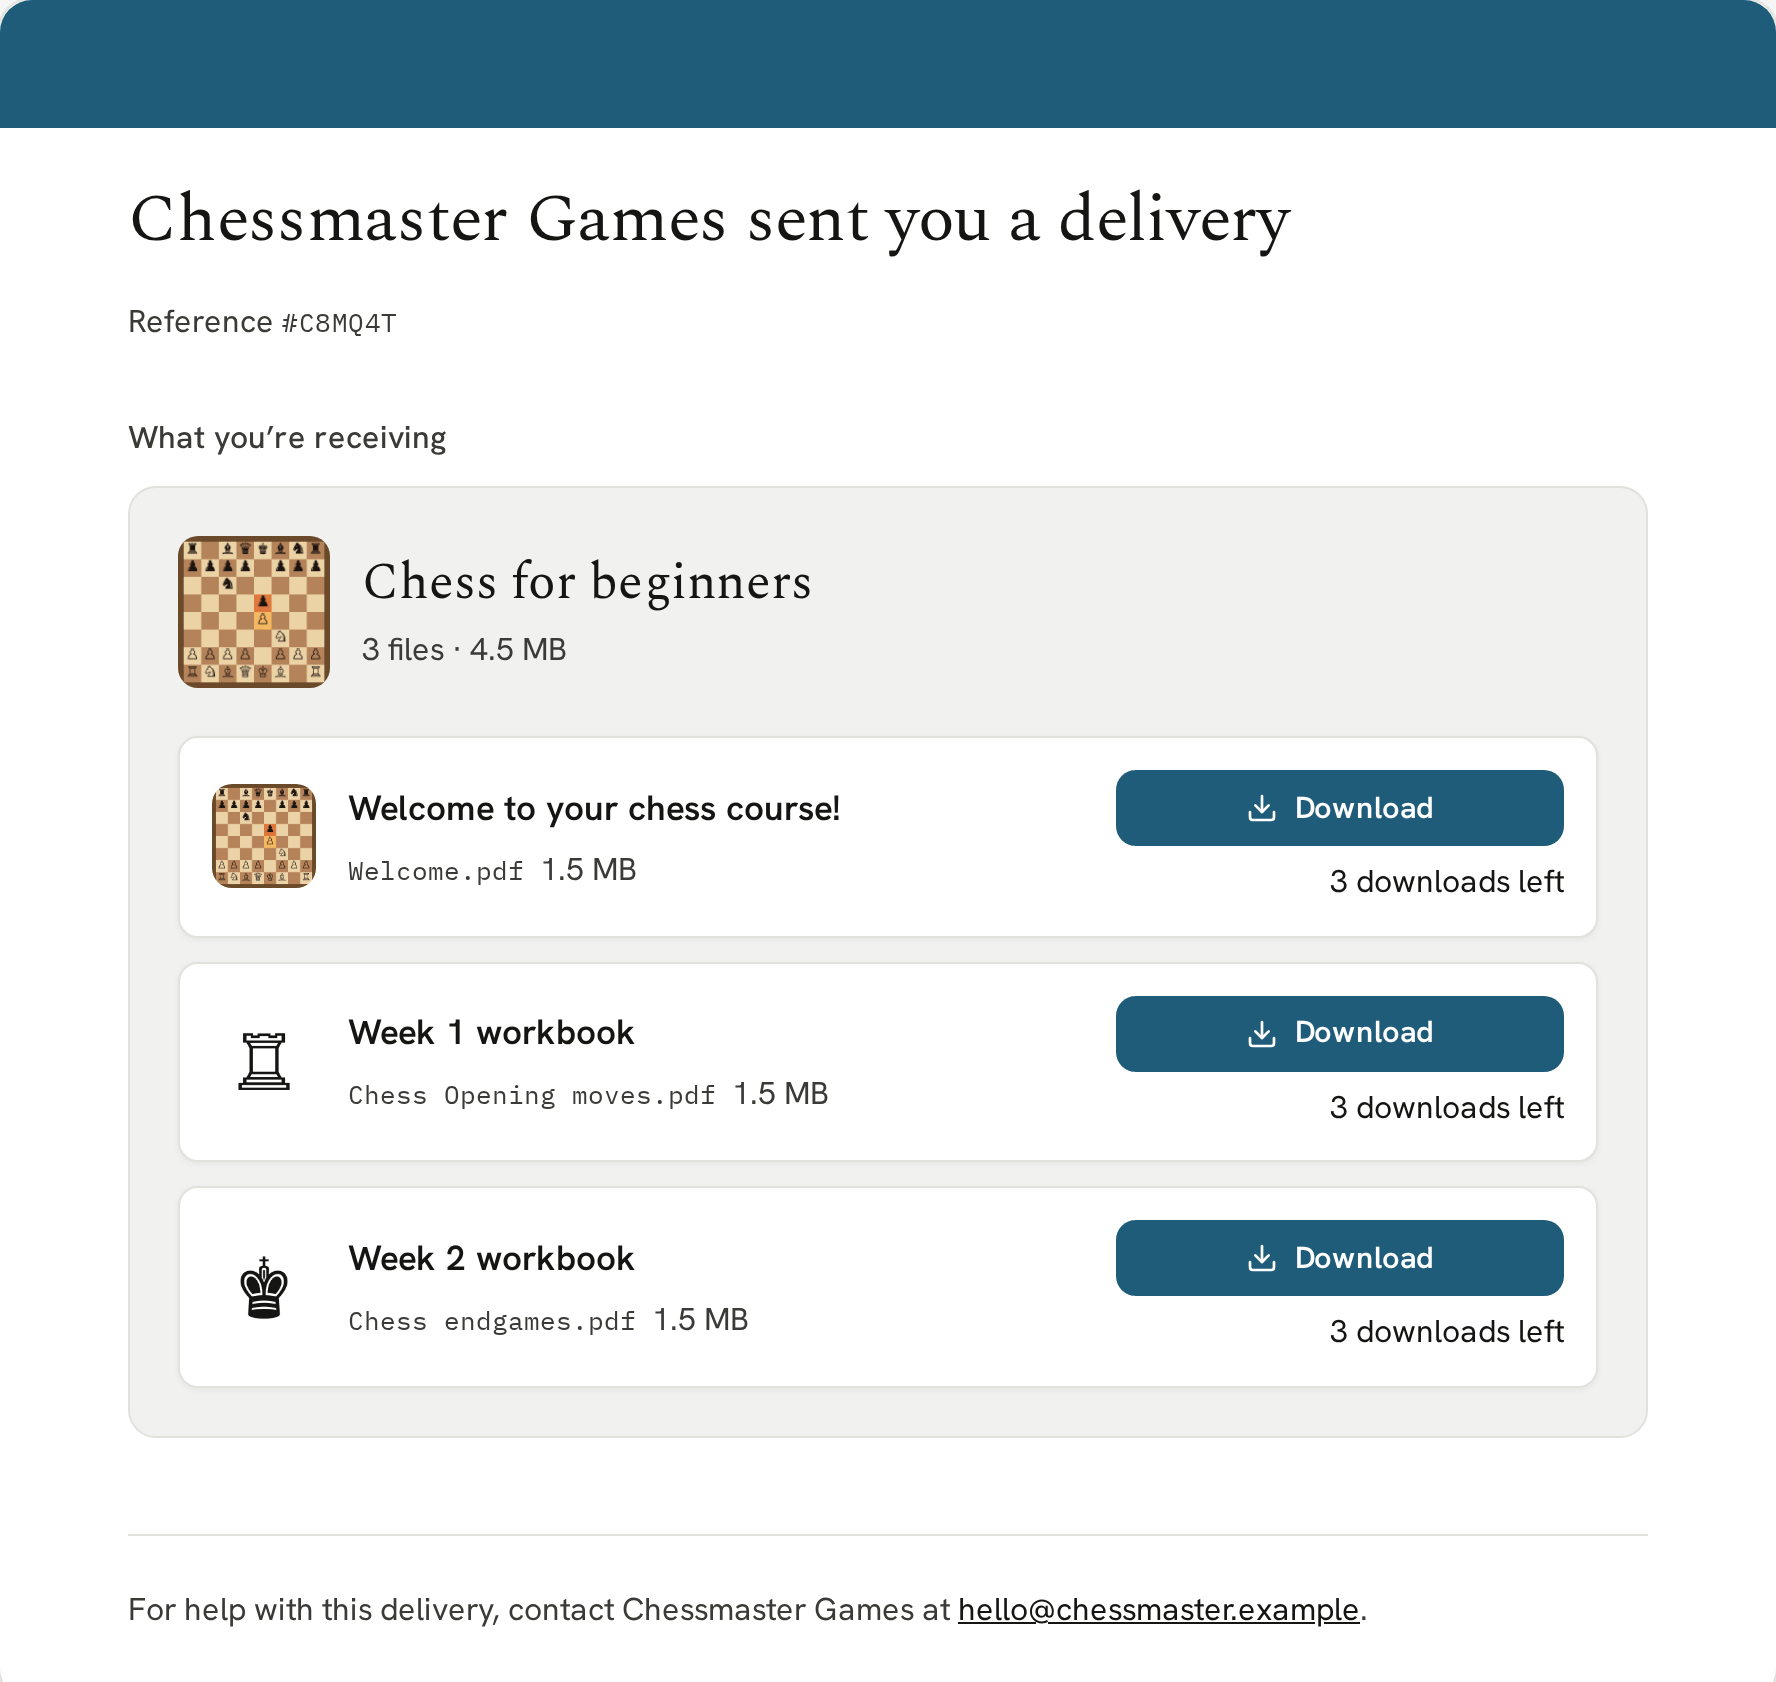
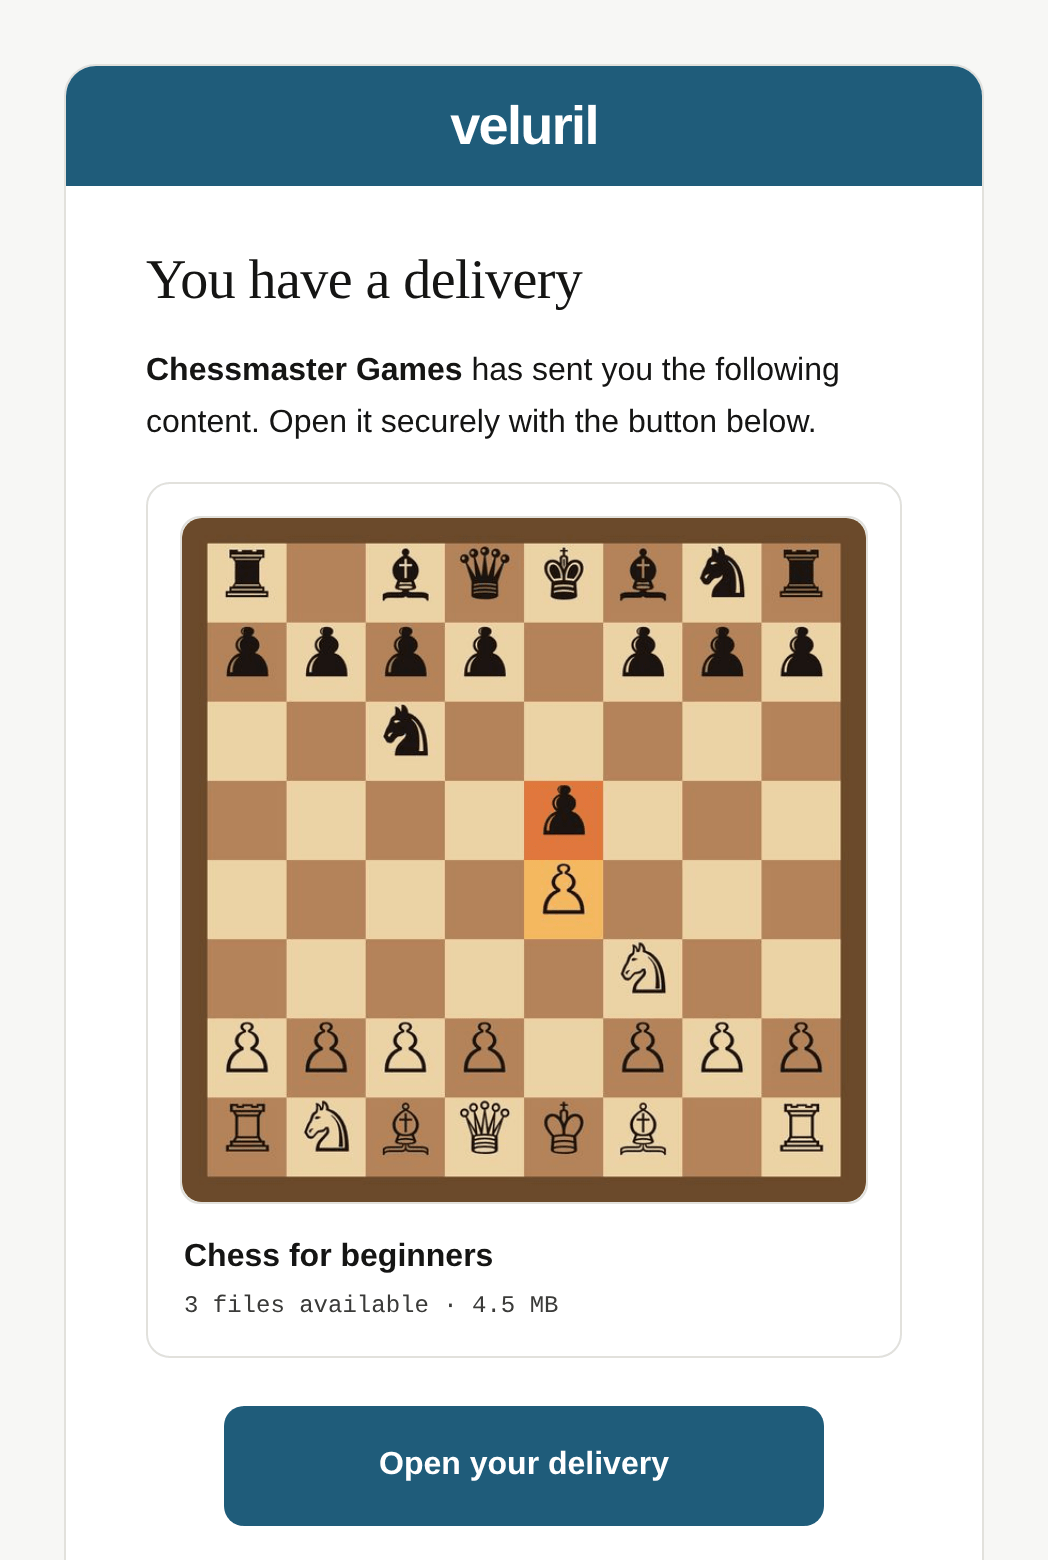
Bundles are what's delivered to your recipients. They contain the content that's downloaded. Whether it's one or a hundred files, they get packaged (put in a bundle) and sent to the recipient. In this screenshot we see the bundle, Chess for beginners, containing 3 different items of content on the recipient's download page:
Creating a bundle
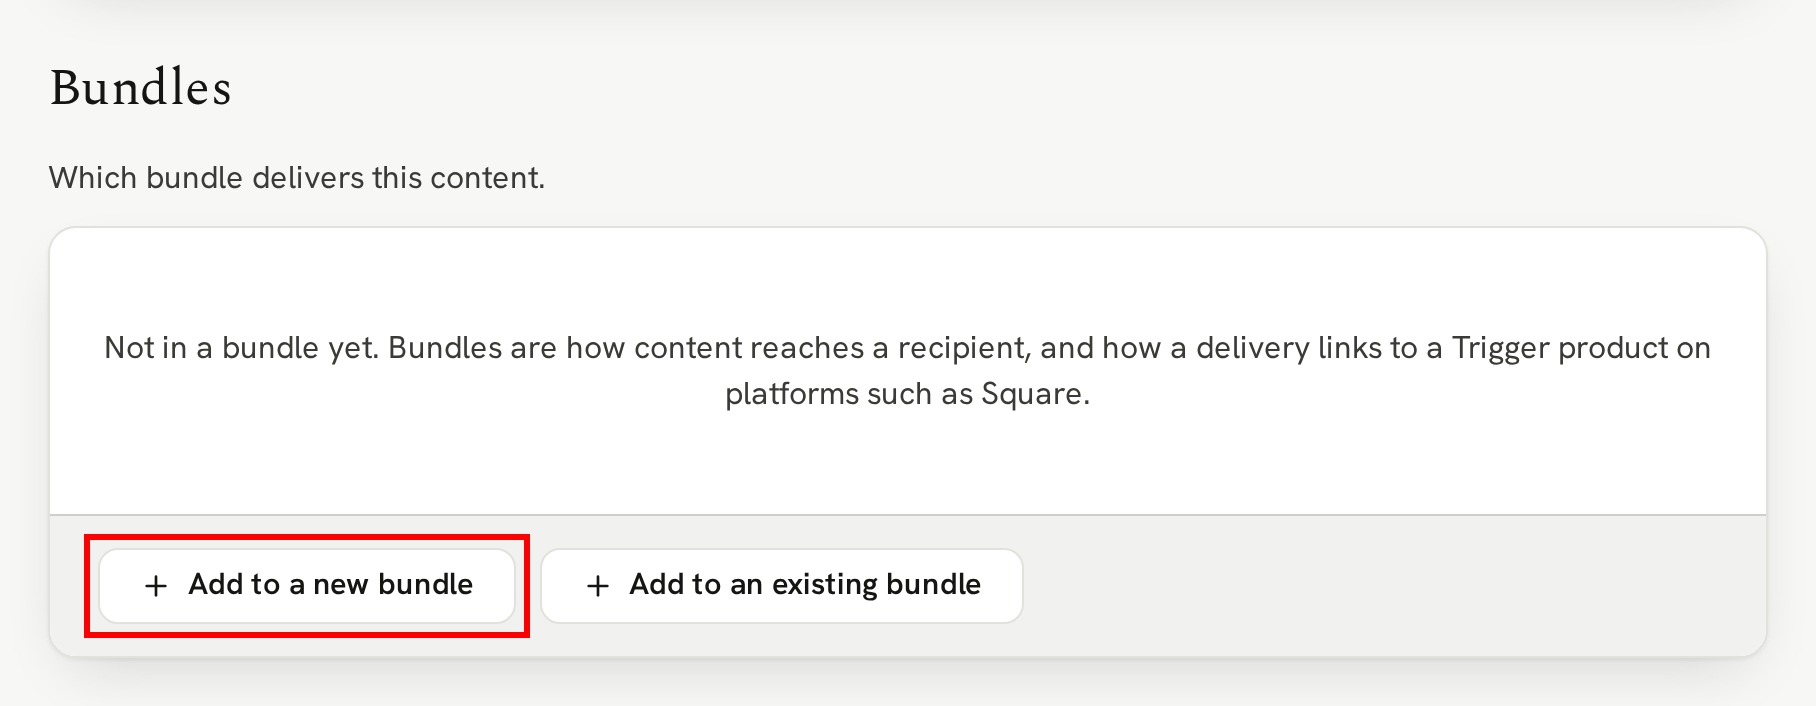
There are two ways to create a bundle, one is from the content details page itself where you click the "+ Add to a new bundle" button. That immediately creates a bundle with that item of content already in it.
That's a great shortcut to starting a bundle as it already contains one item of content and is especially useful if your bundle will only ever have one item in it. One click and done.
However, let's look at creating a bundle from scratch, configuring it, and adding content from the bundle details page.
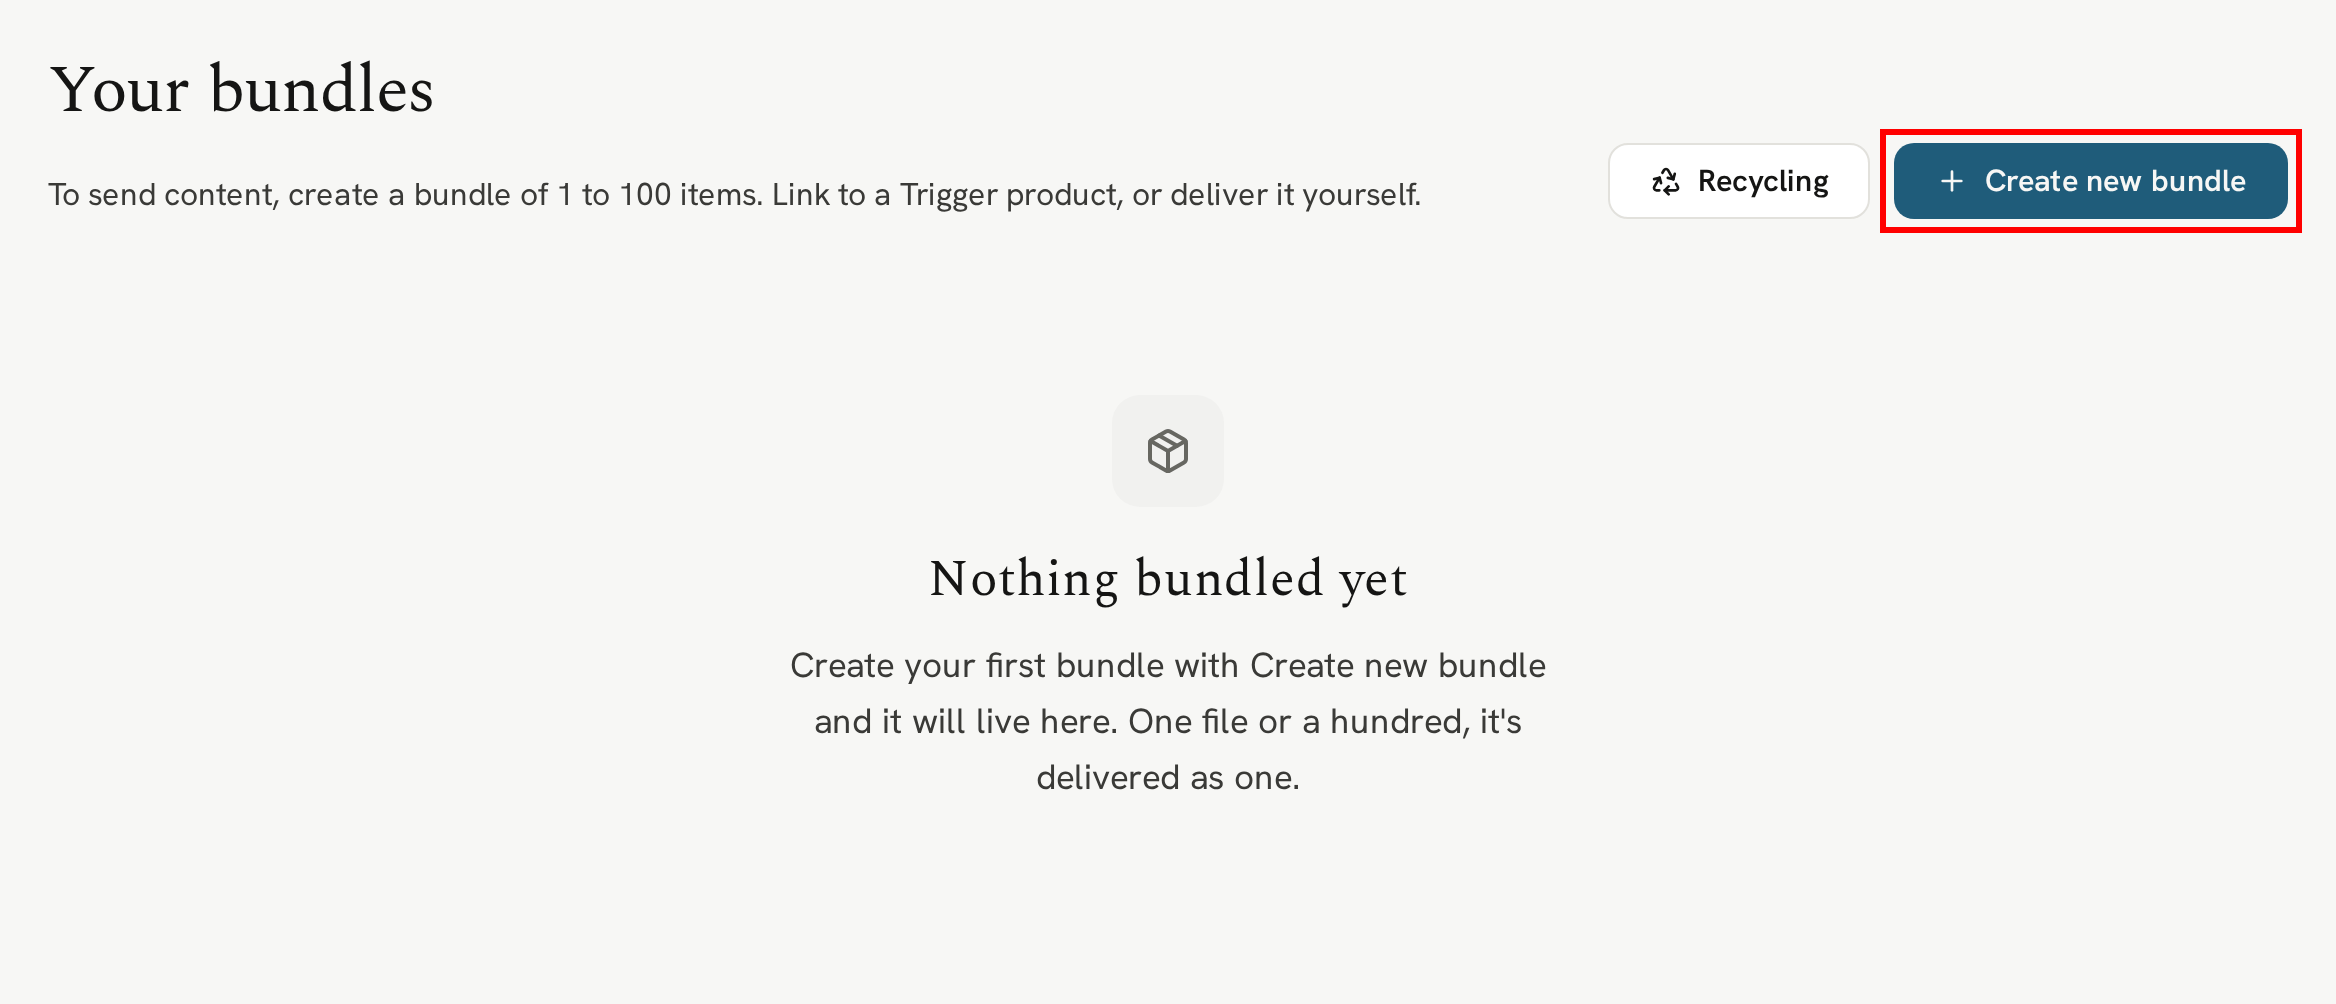
First step is to head to your Library bundles page and click the "+ Create new bundle" button:
Name
Your very first action on creating a new bundle is to name it. This is the name that will be shown on the delivery email, the download page, and the recipient's content library. It's the package that's delivered to them.
In this example, we'll call it 'Chess for beginners':
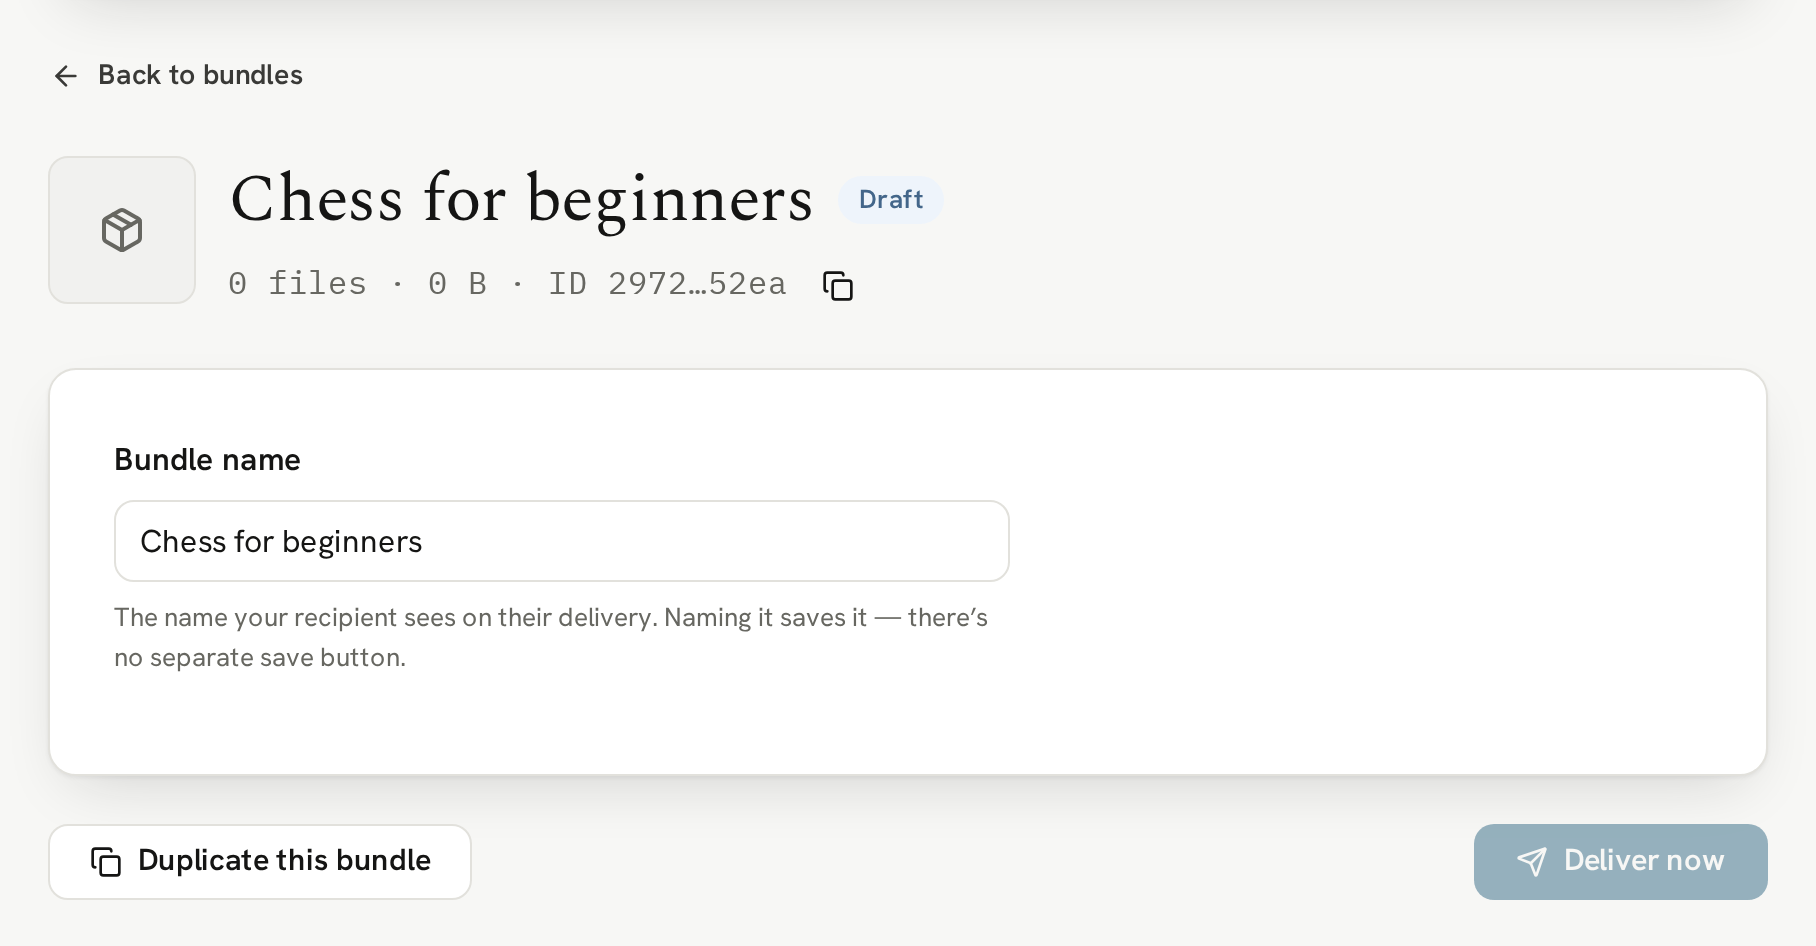
Notice it's still in a 'Draft' state and the "Deliver now" button is still unavailable? We still have at least one more step with the main one being to add some content. We can't deliver an empty bundle.
Let's move down the page to the next section.
Cover image
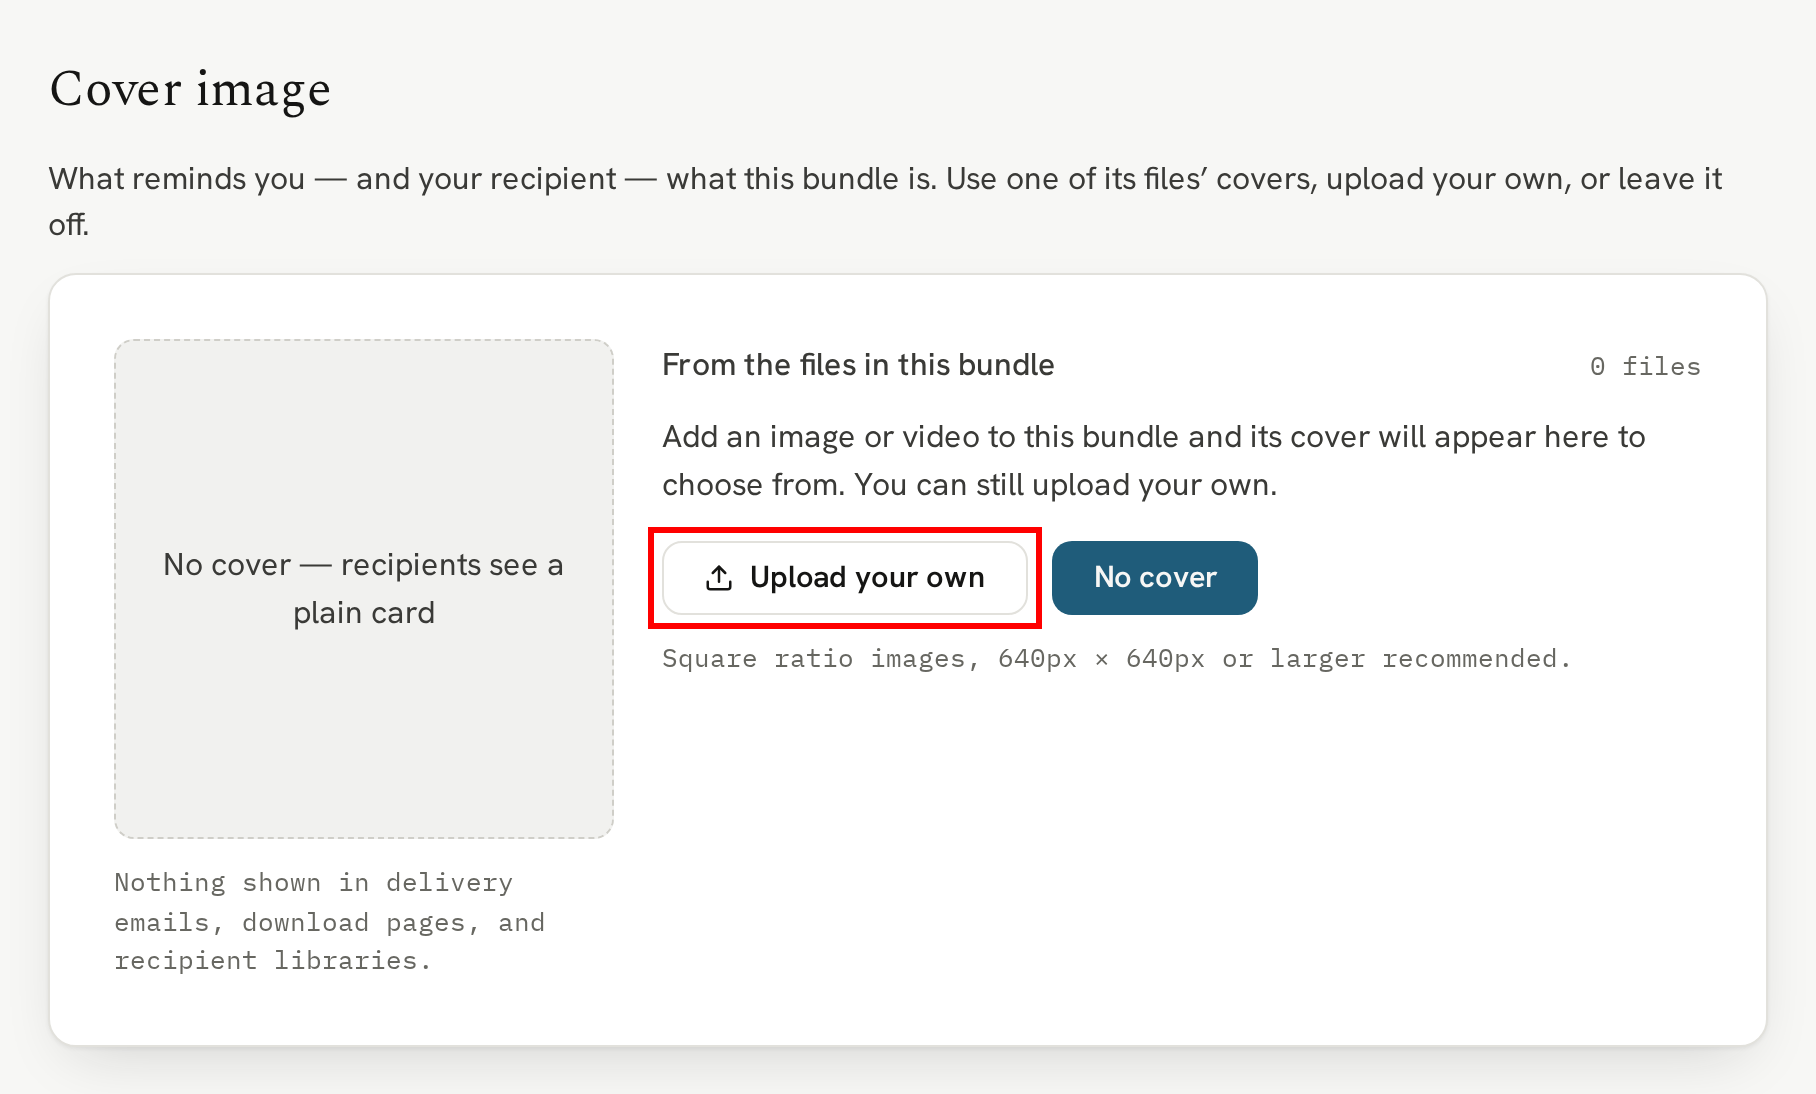
Just like content, it's a good idea to upload a cover image for your bundle. It's what will show on the delivery email, the download page, and the recipient's content library. It would ideally represent the whole bundle. We recommend a square image, 640px by 640px, or larger. Click the "Upload your own" button and select your bundle image.
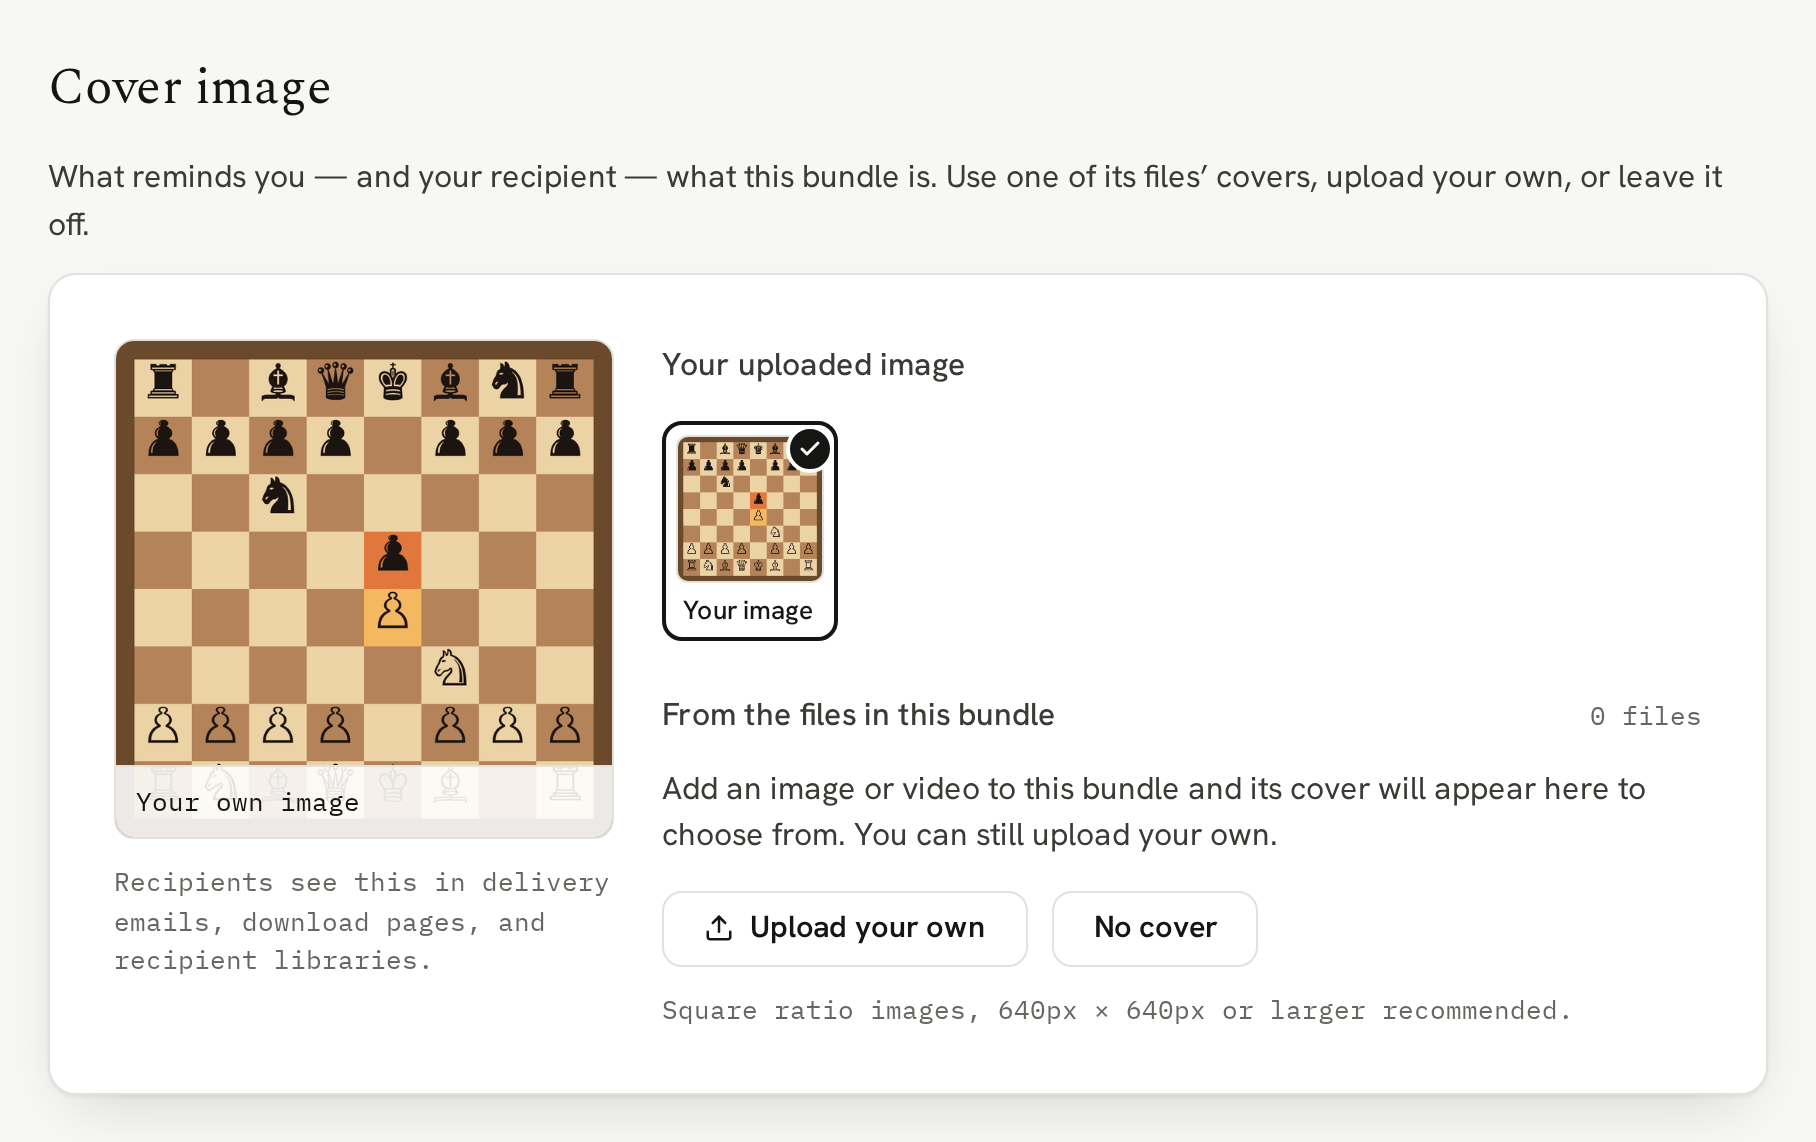
When you've uploaded your cover image, it will show the preview within a few seconds:
Adding Content
Now to what could be described as the most important part of the bundle, the content.
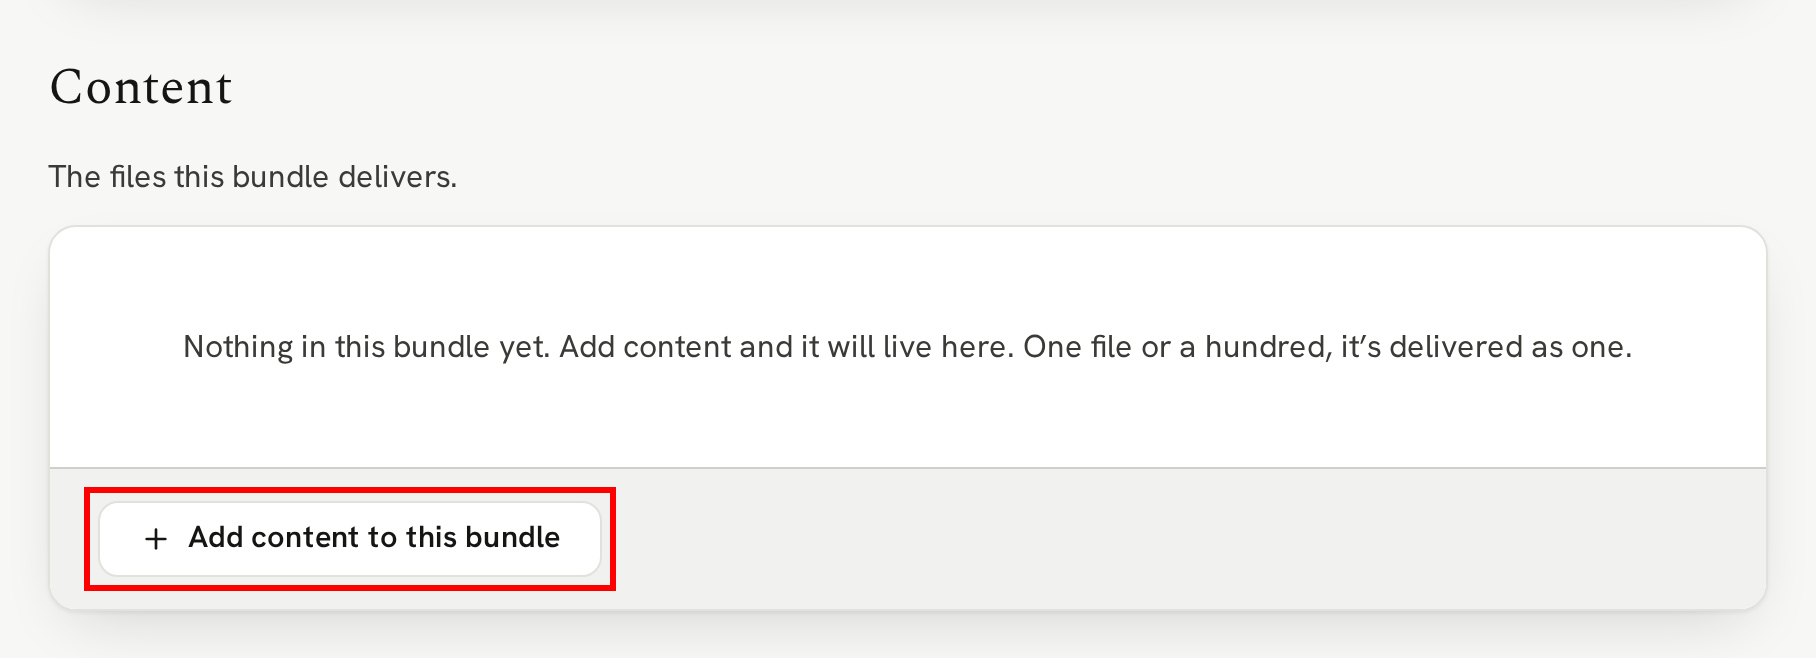
Assuming you created the content that you want to add to the bundle (if not, see the "Uploading your content" article), click the "+ Add content to this bundle" button:
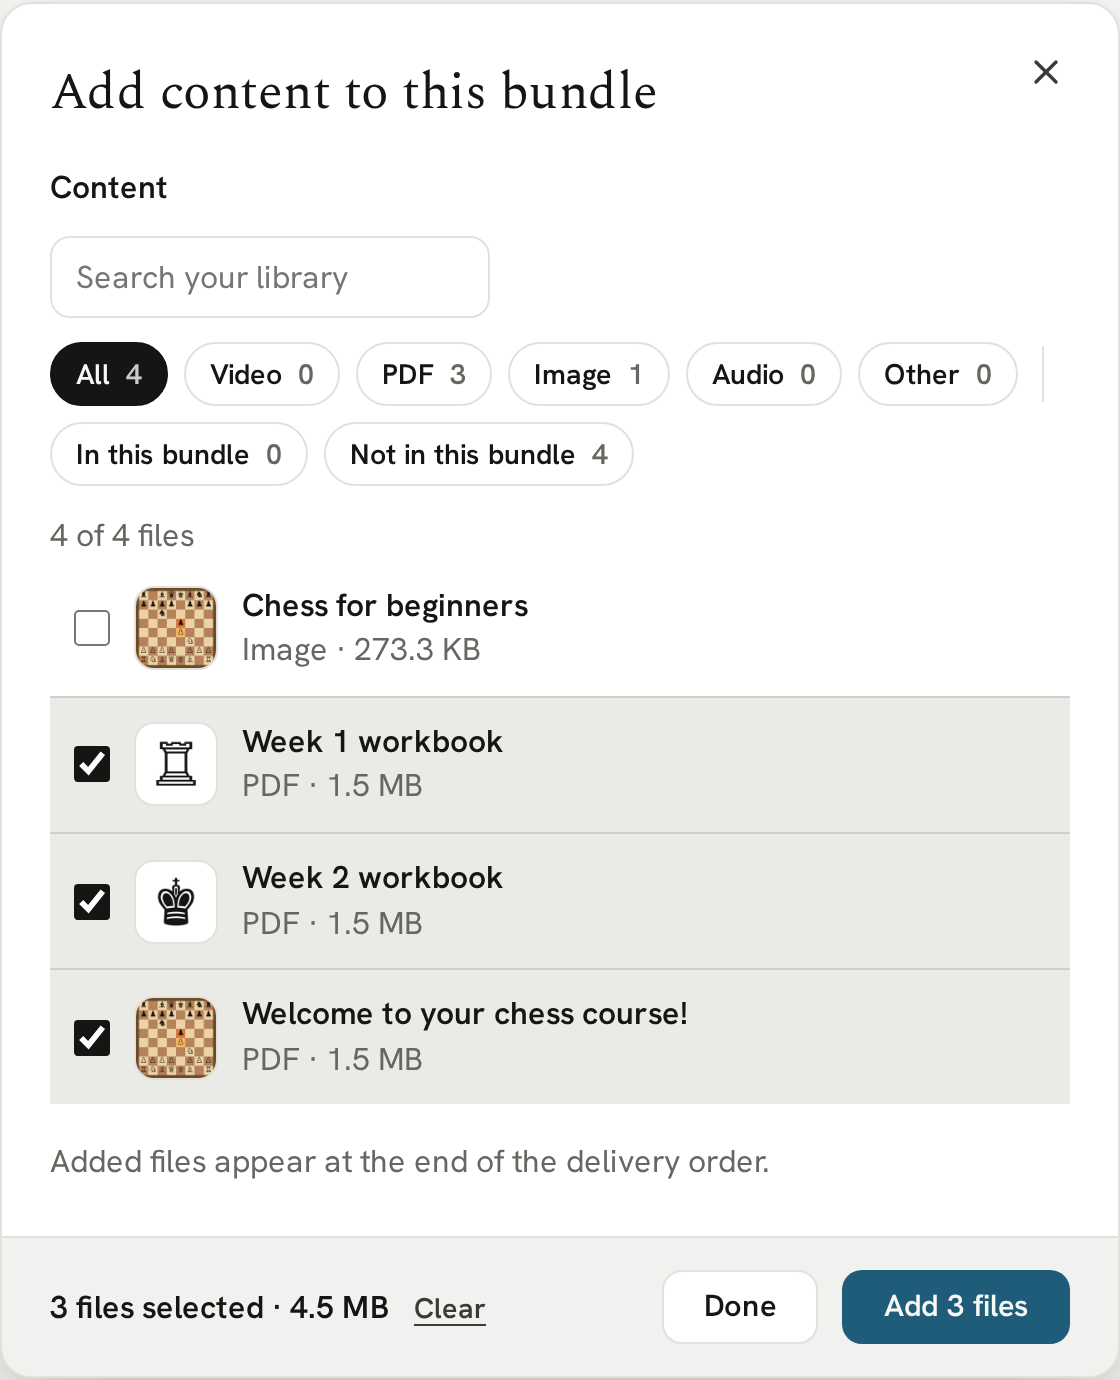
While bundles can contain anything from one to one hundred items, in this example, we're going to select 3 items of content: "Week 1 workbook", "Week 2 workbook", and "Welcome to your chess course!". You can search for content, filter by type, and even by what's already in the bundle:
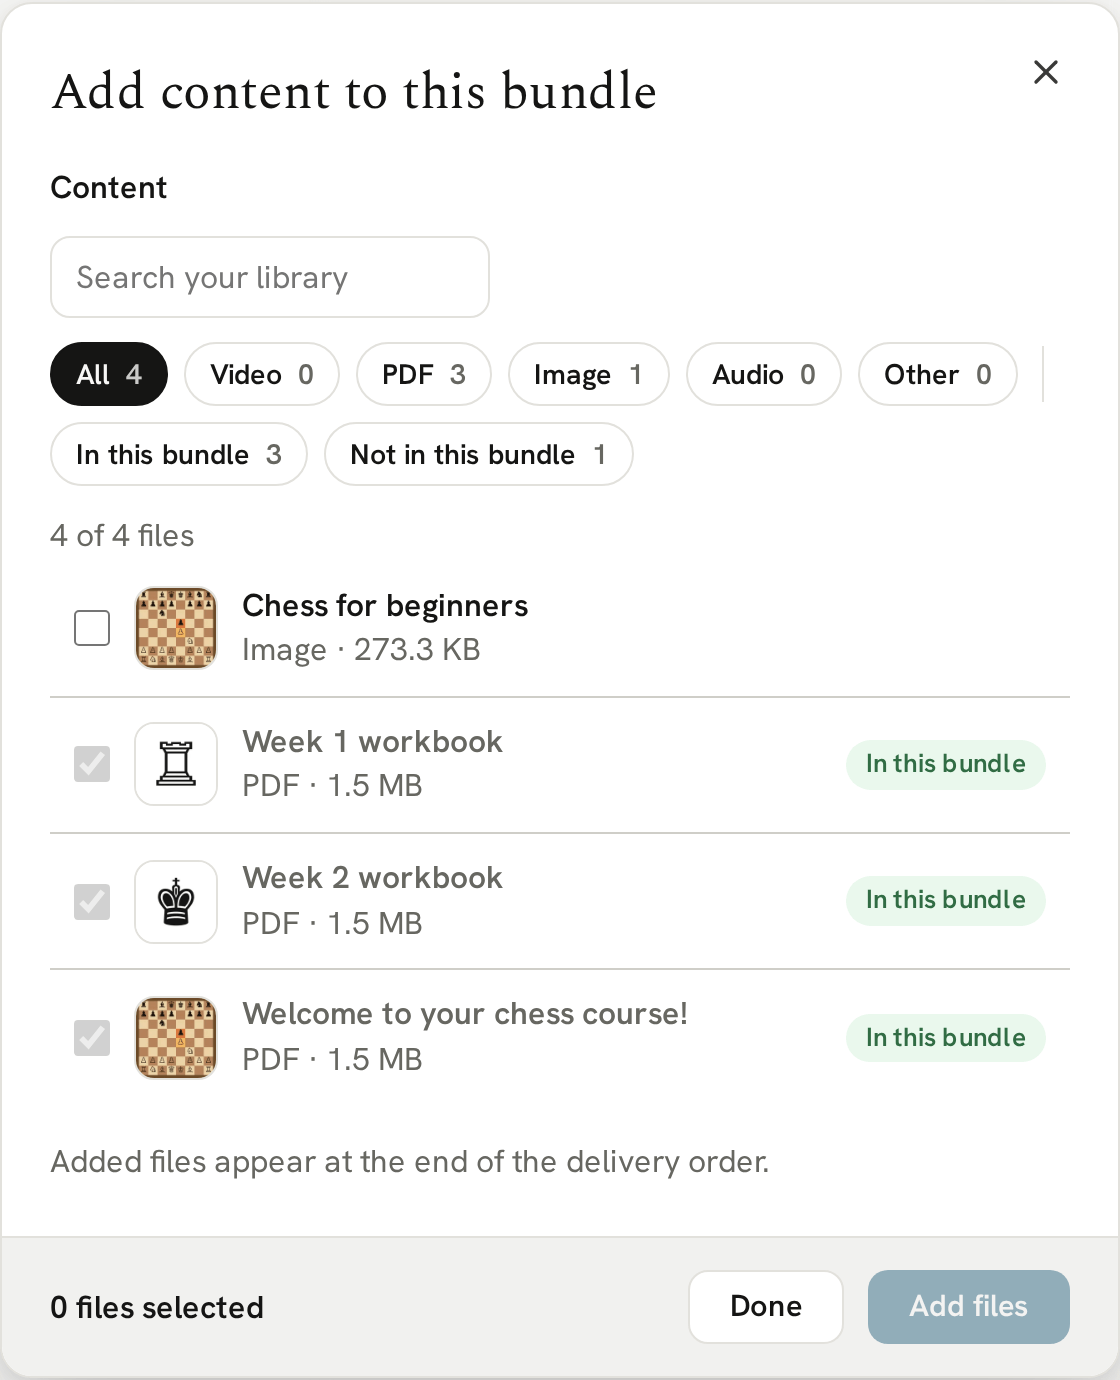
Once you click the "Add files" button, the modal will show what's in the bundle already in case you want to add more. If not, click "Done":
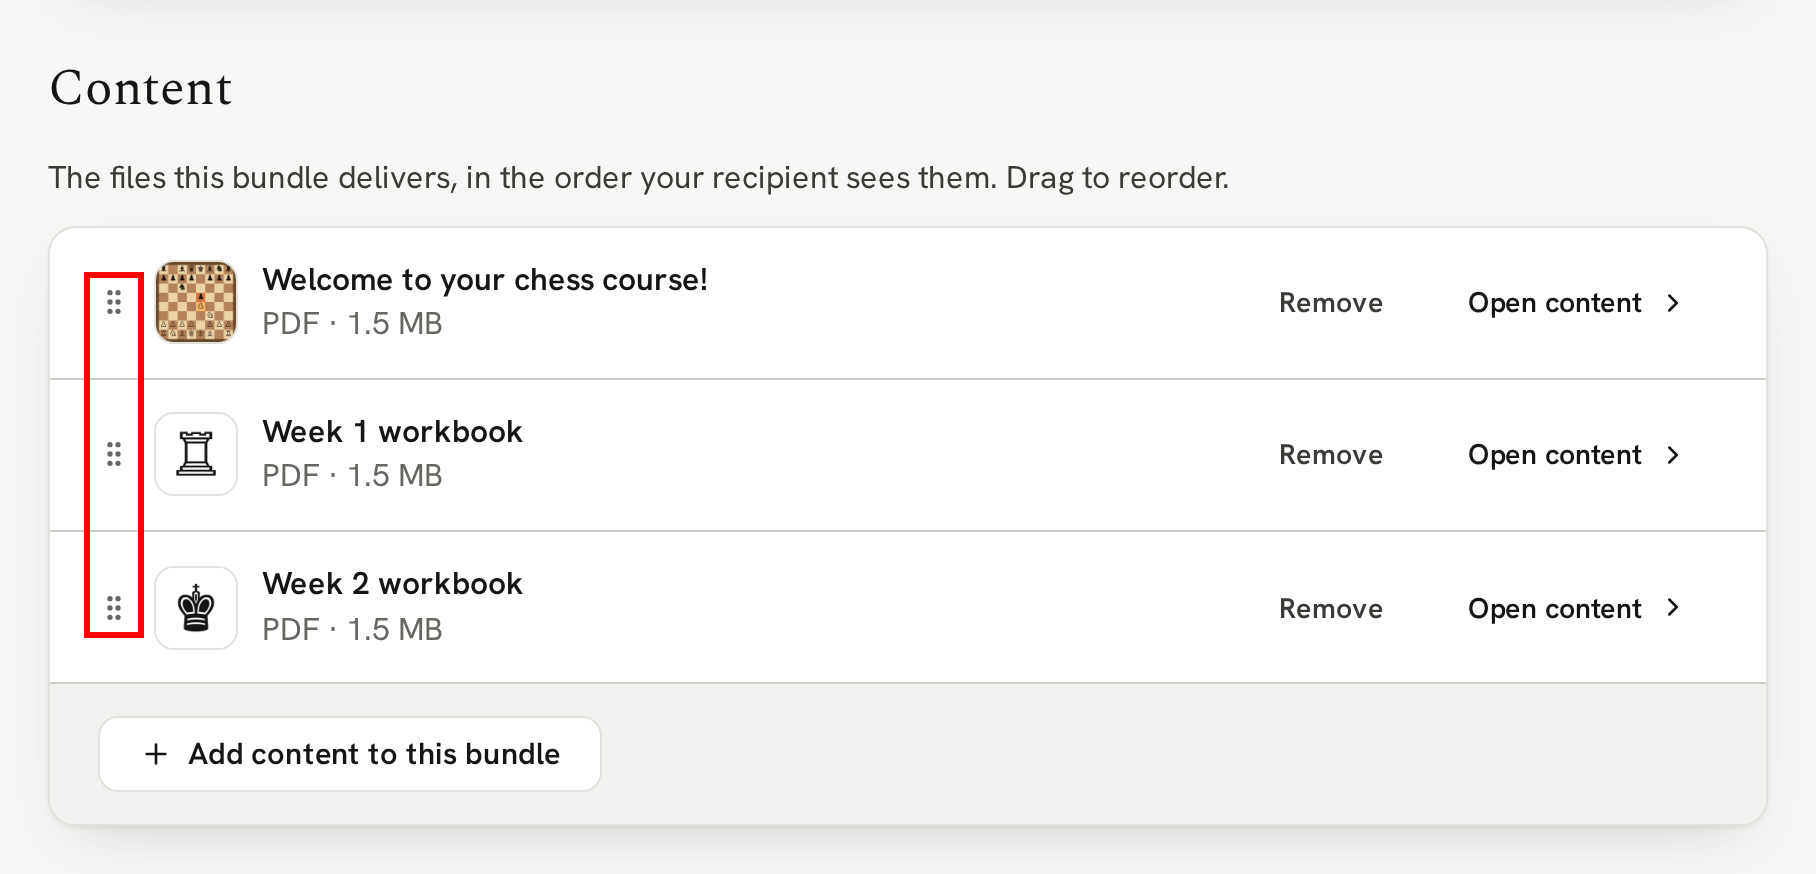
The only thing left to do is rearrange the files so they appear in the order you prefer. In this case, we want 'Welcome to your chess course!' as the first item on the download page:
Trigger products
Trigger products are very powerful and allow you to fully automate your delivery process. In this example, we've already linked our Square account to our Veluril library.
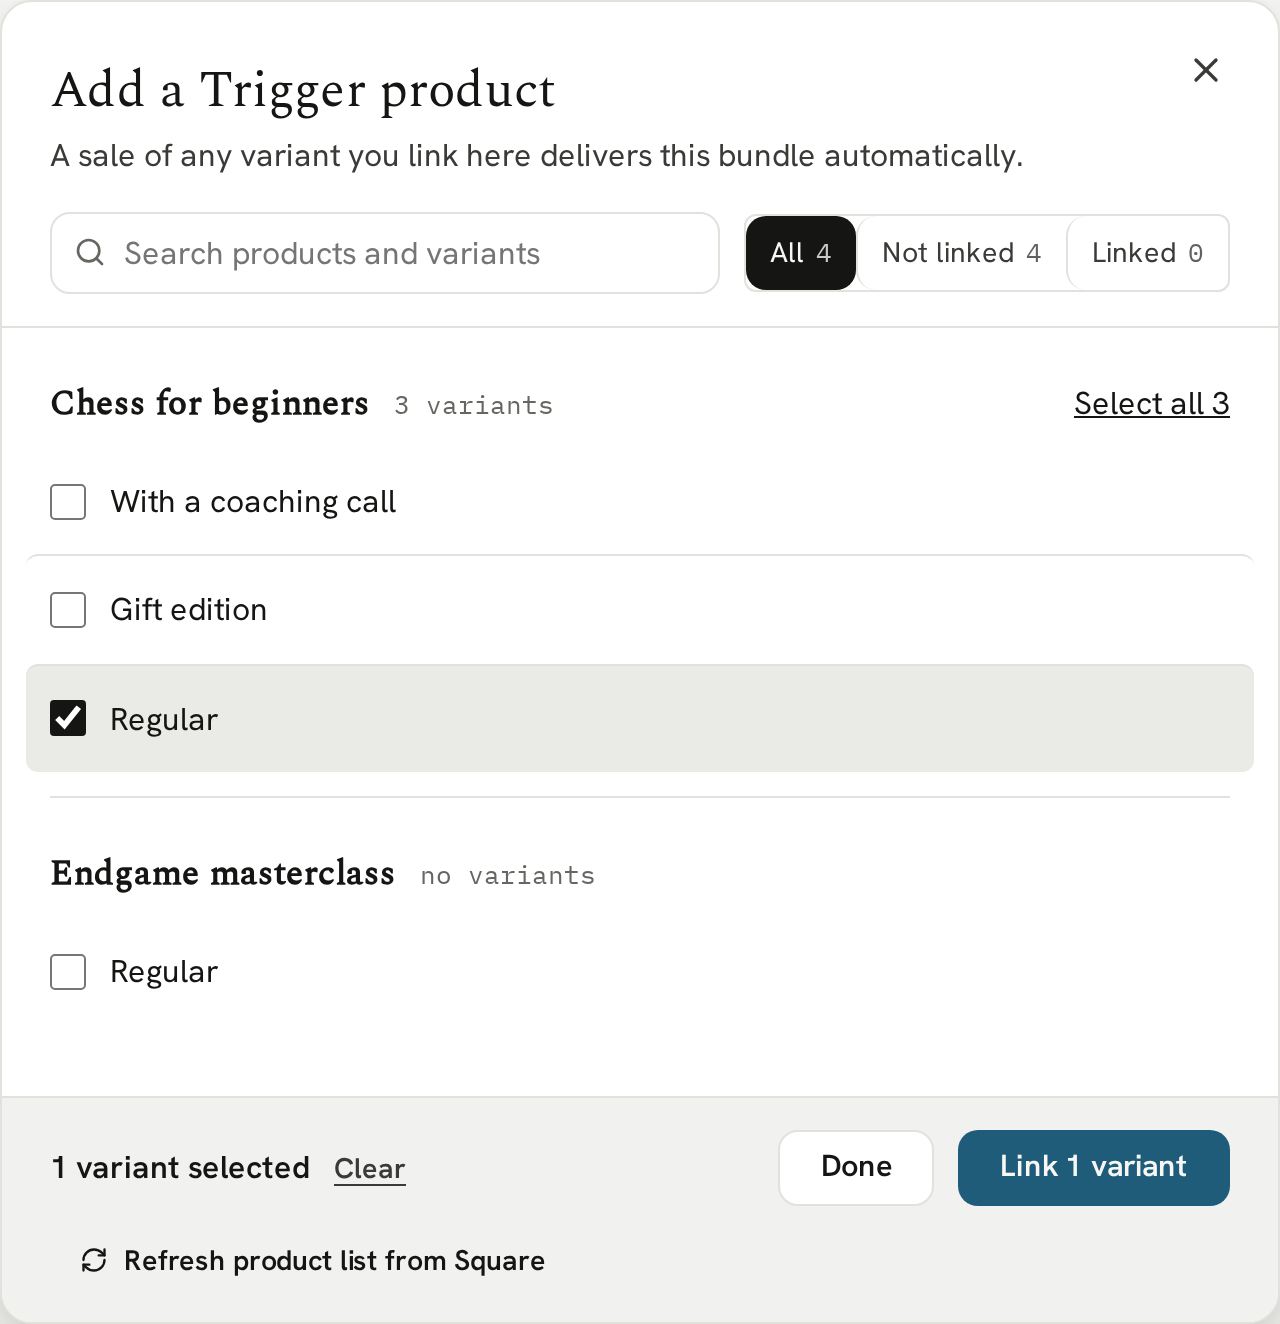
Next we click the "Add a Trigger product" button and in the modal we select what Square product should trigger the delivery of this bundle of content. In this case, we link one of our test Square product variants:
Now, when we conduct a test purchase of that Square product — being sure to use an authorized test recipient if the Library is on Free Explore —, the bundle will be automatically delivered to the recipient:
Content Security
It's important that your content and recipient download pages are secure from sharing. We offer a unique two layer system of protection.
Layer 1 security
Layer 1 prevents anyone other than the recipient accessing the download page. While it's true the download page has an unguessable URL, the recipient can still share it with someone else.
By default, we enable Layer 1 protection which, after the first download, requires the recipient to confirm their email address. We send a 6-digit code to their email which they then enter. This stops anyone without access to the recipient's email from accessing the page.
While we recommend leaving Layer 1 enabled for all paid and sensitive content, you can disable it at anytime. For example, if you had a lead magnet where you would want the download page shared, you would disable Layer 1 security.
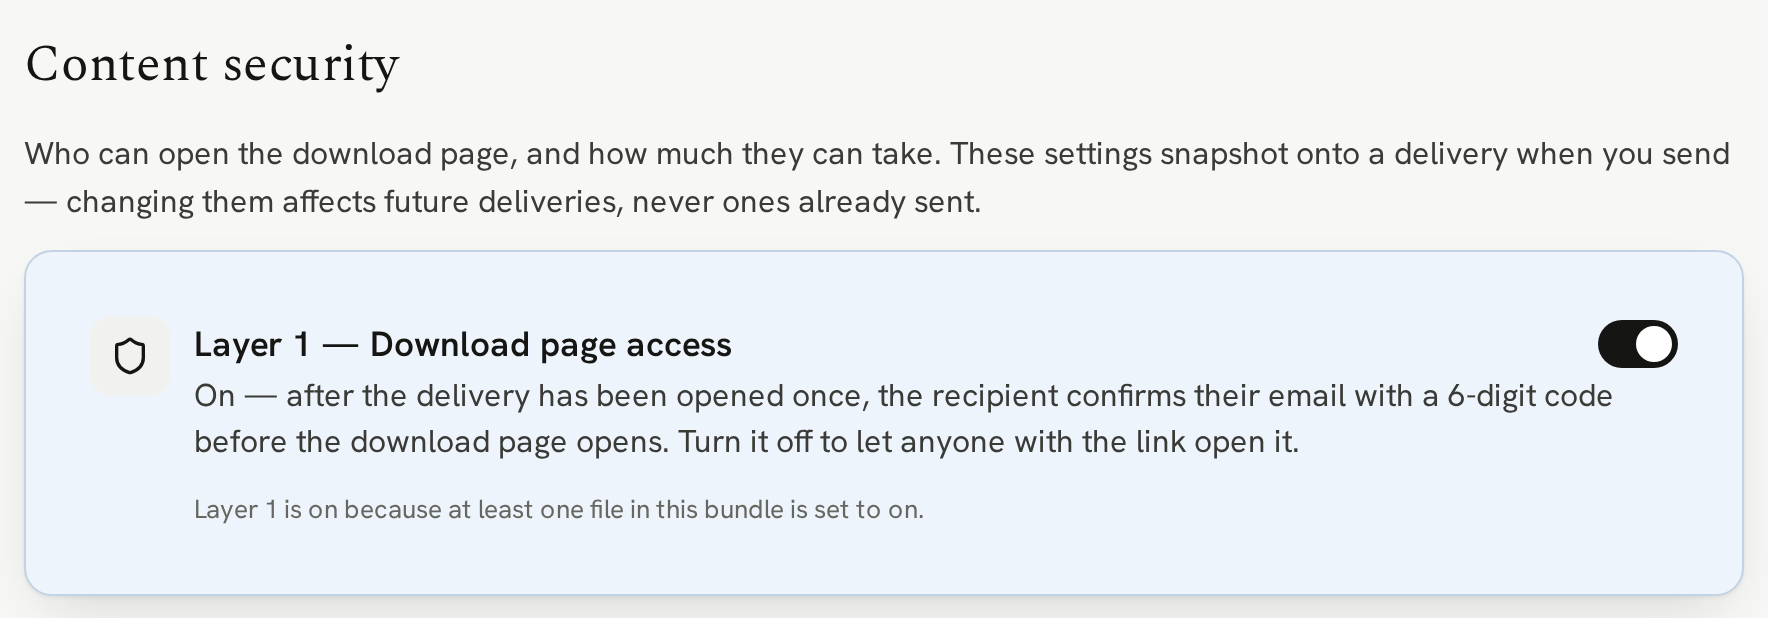
Note that the bundle inherits security from the content.
So if any of the content in the bundle has Layer 1 security enabled, then by default, so will the bundle. That helps stop accidentally allowing the download page to be shared even though you set the content download page to not be shareable.
To see what the recipient sees, read How the recipient confirms it's them.
Layer 2 security
When you upload and create your content, you set access permissions for that content.
By default, the bundle will inherit those permissions. For example, if one item of content in the bundle had unlimited download attempts, it will still have unlimited download attempts in the bundle. If another was restricted to 3 download attempts, it will still be restricted to 3 download attempts.
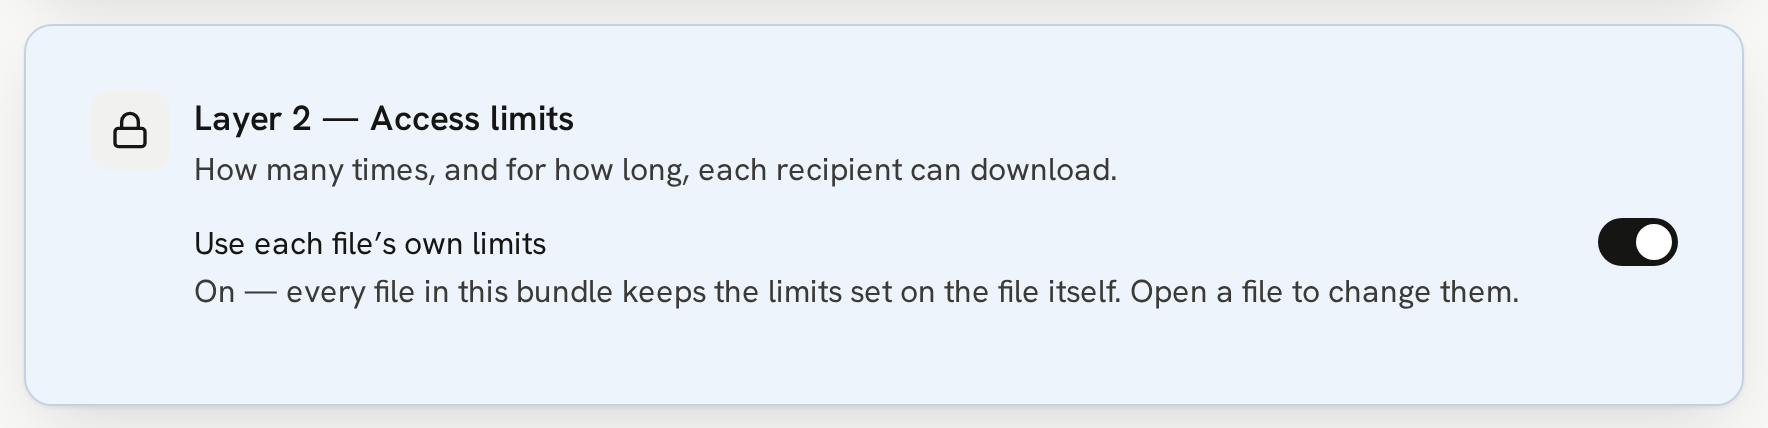
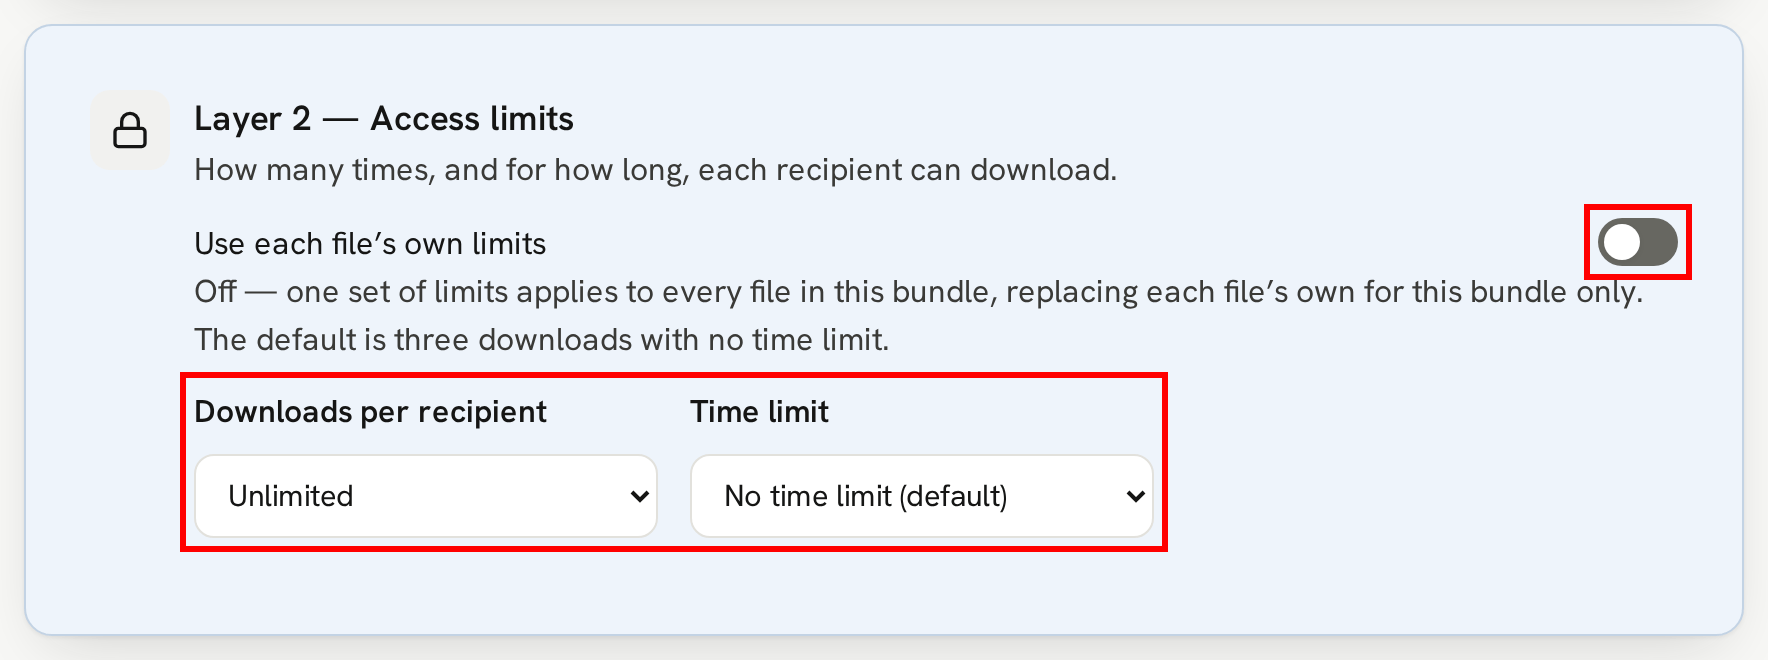
We recommend keeping that inherited security model but you can, of course, disable it and set a new set of permissions for all the content in the bundle. This will override the content permissions so be careful you don't accidentally apply looser permissions that you initially intended:
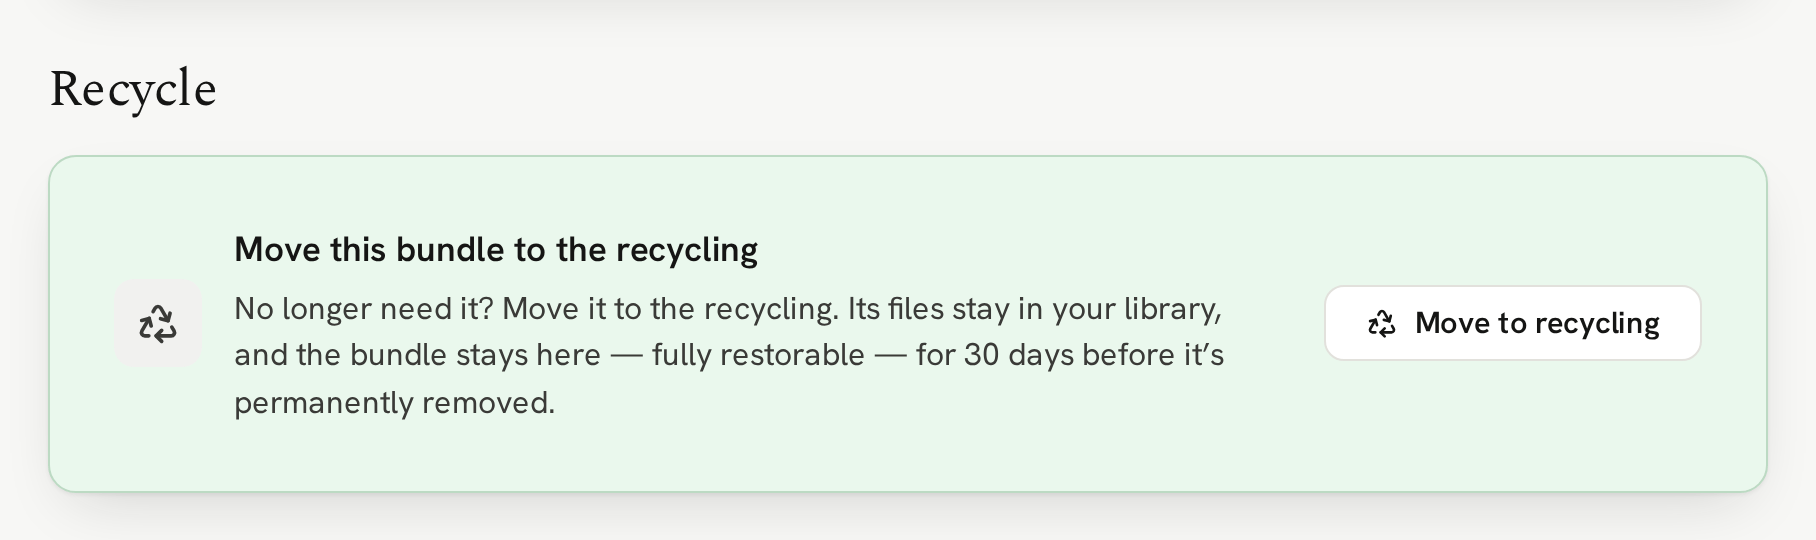
Recycle
If you no longer need the bundle, you can move it to the recycling. Anything moved to the recycling can be restored within 30 days so if you make a mistake (we've all done it!) and recycled the wrong bundle, you can restore it from the recycling with one click.
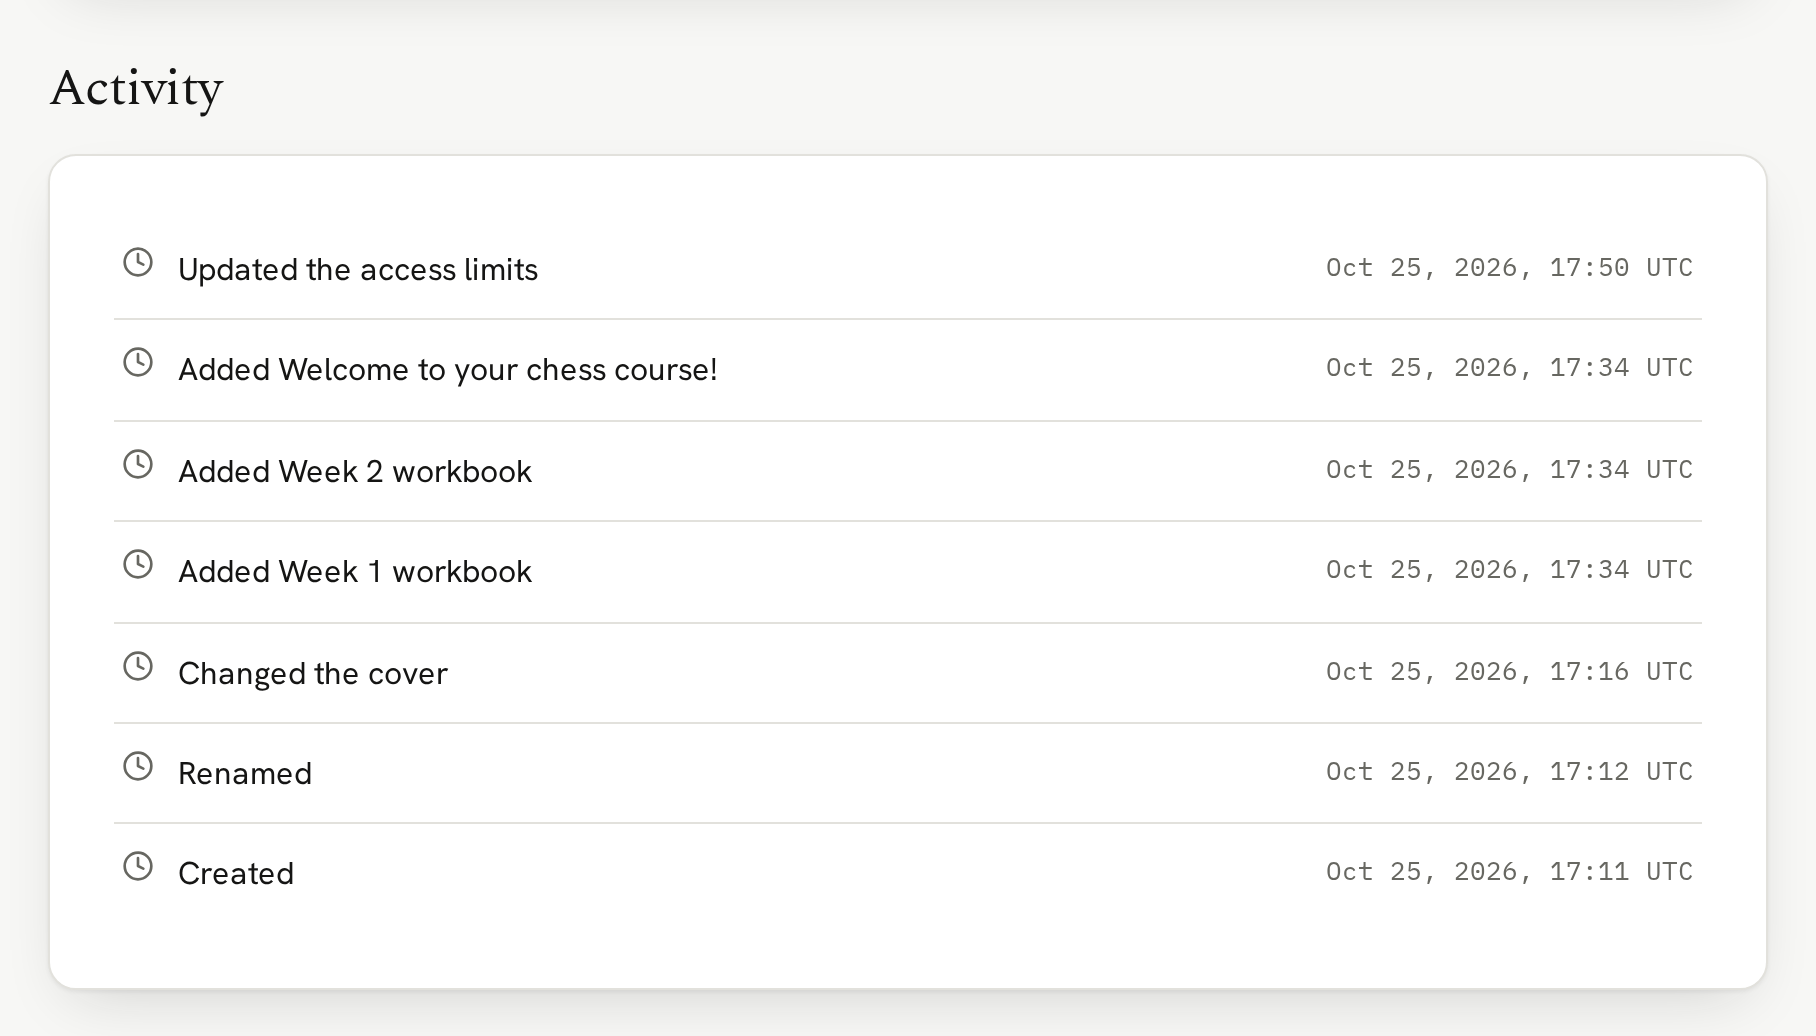
Activity
Lastly, we show the bundle activity log. It shows when anything changed so you can keep track of when content was added to a bundle, when the access limits were changed, and so on: