Uploading your content
Everything in your Veluril Library revolves around your content. Without content, you can't have a bundle to send to your recipients. This article takes you through the steps to upload your content.
Upload
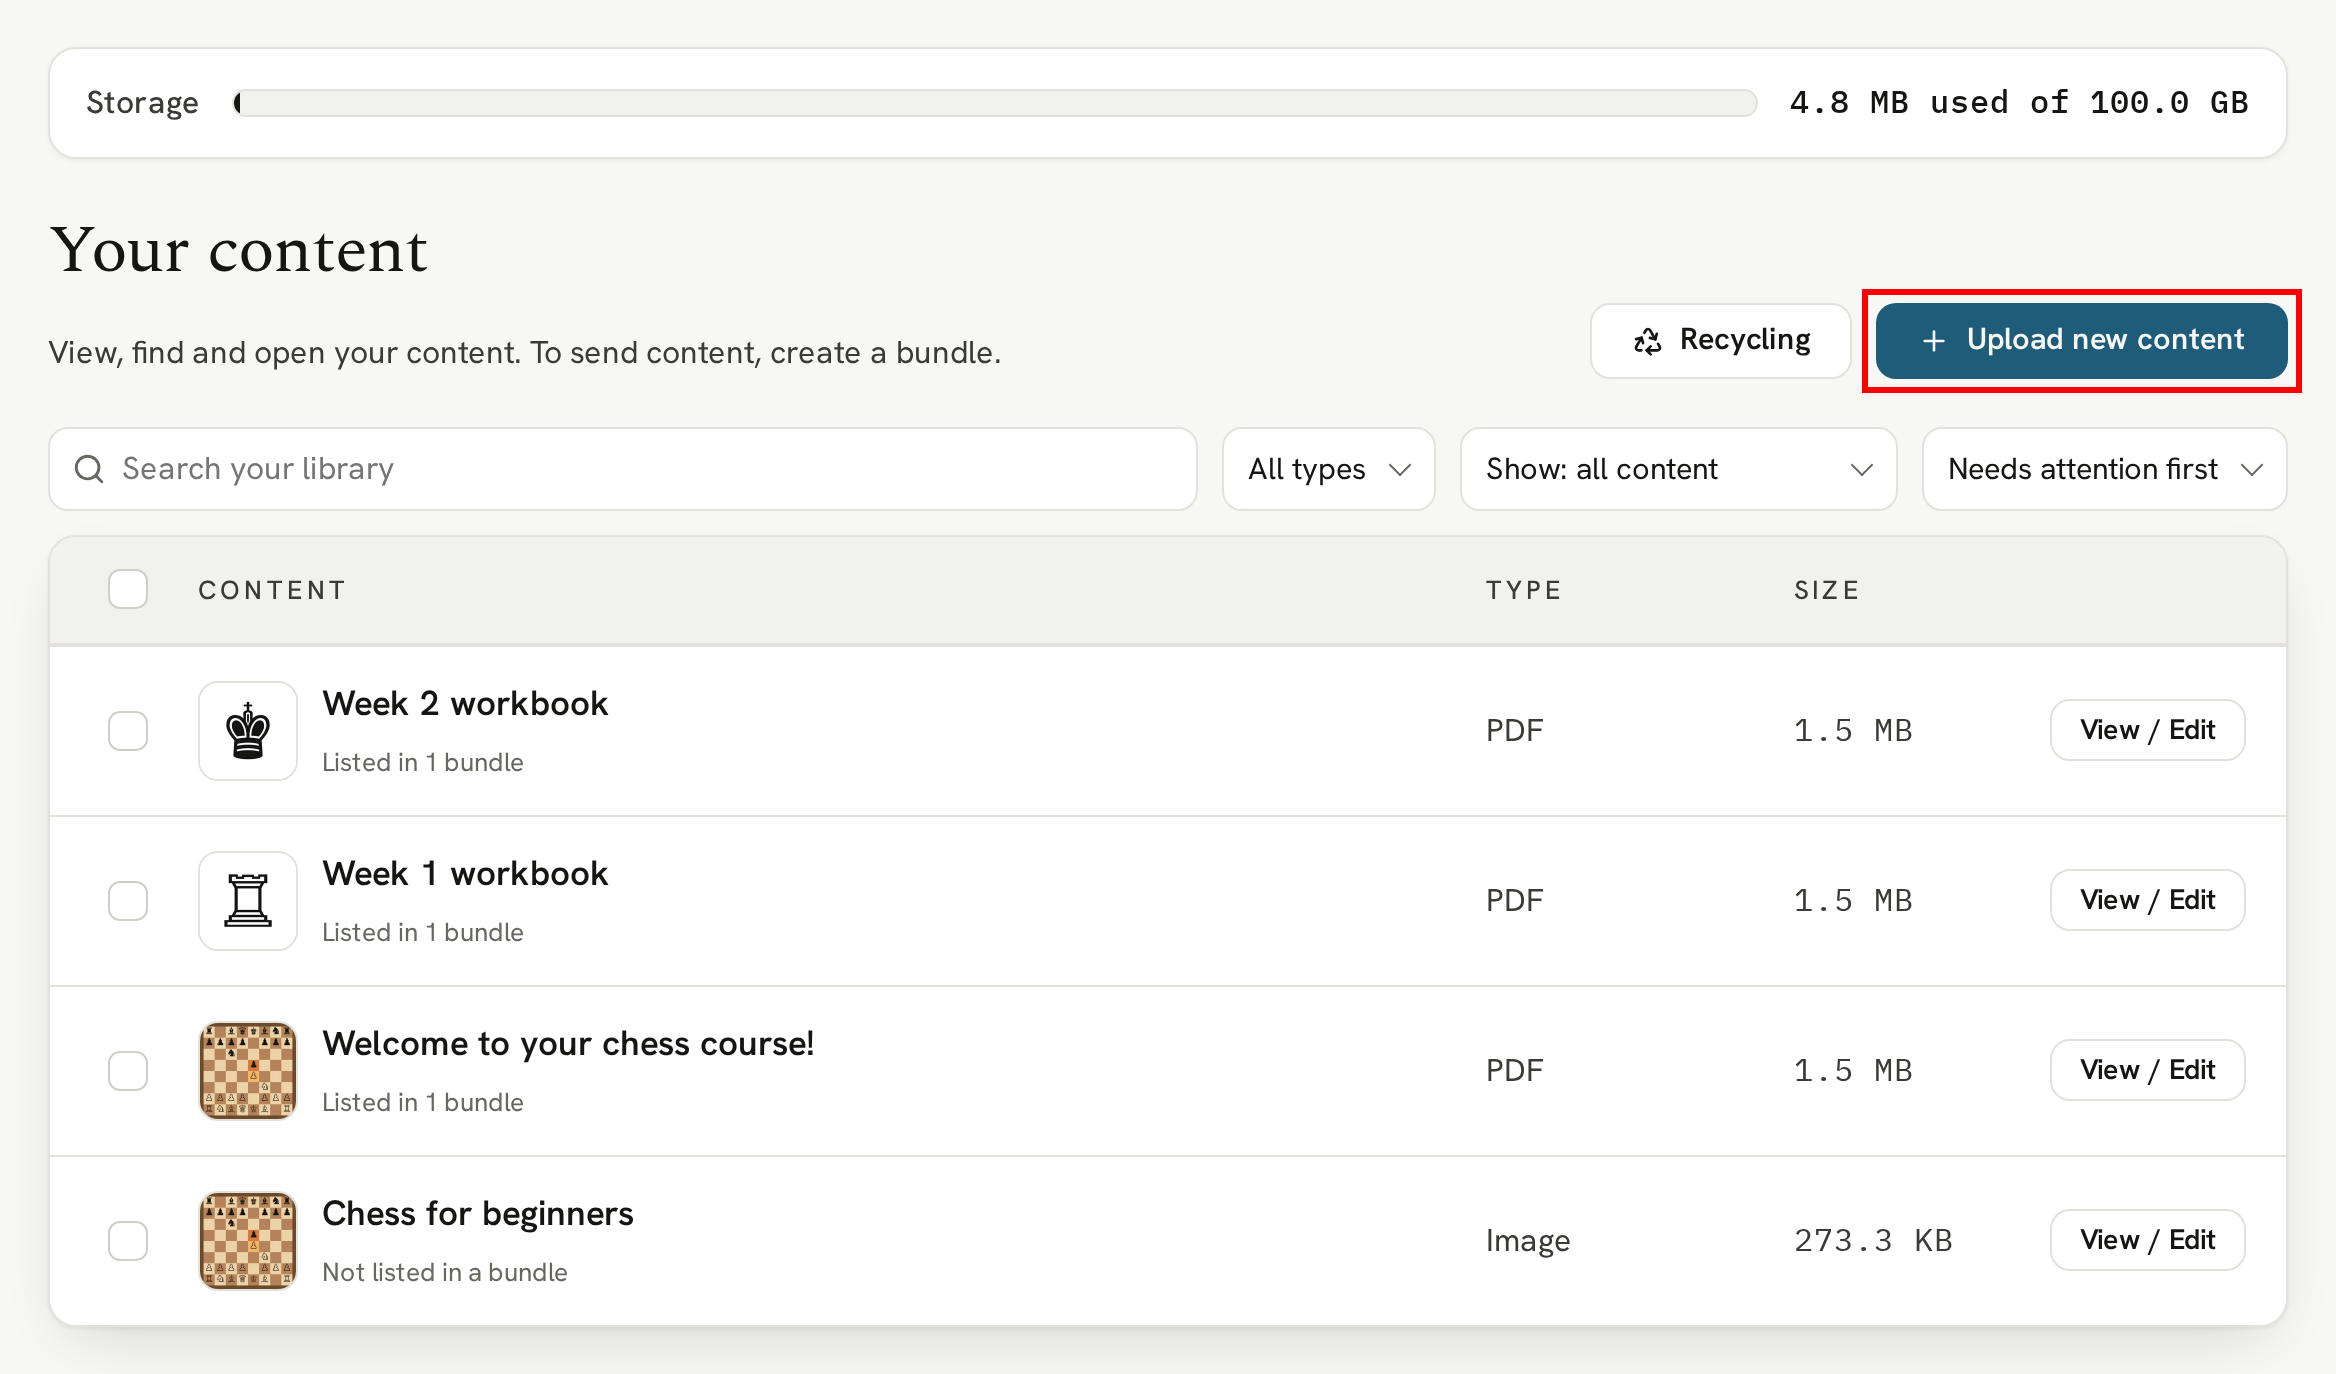
Head to your Library content page and click the "+ Upload new content" button:
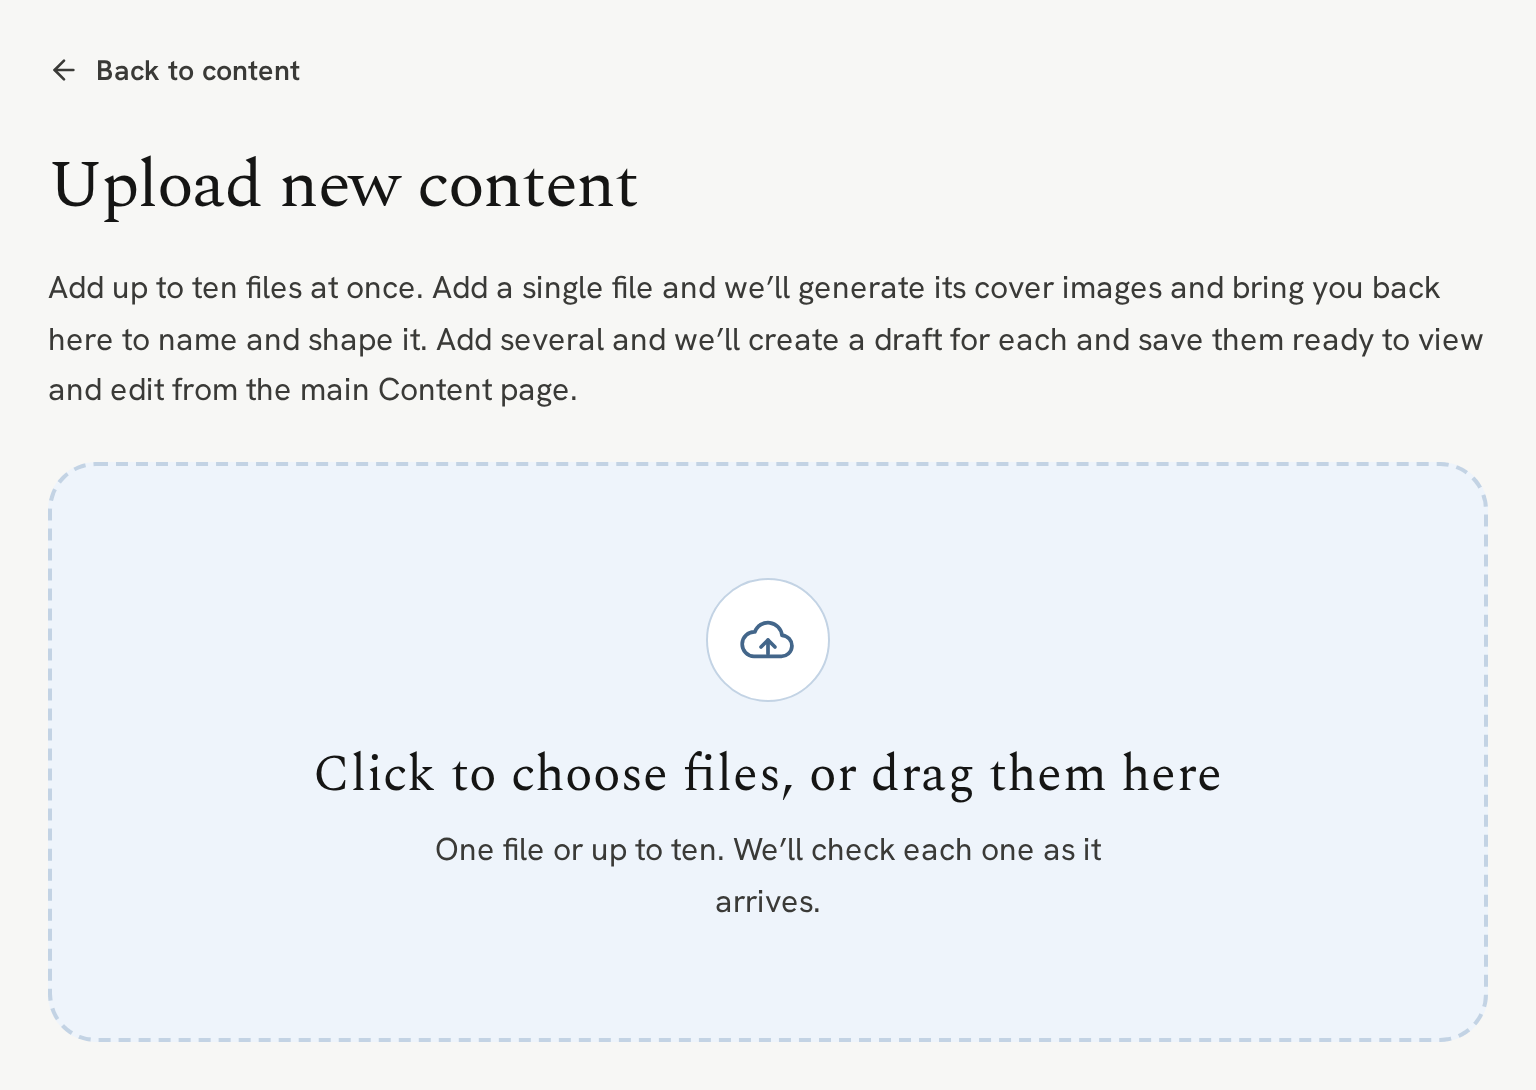
Select one item to upload:
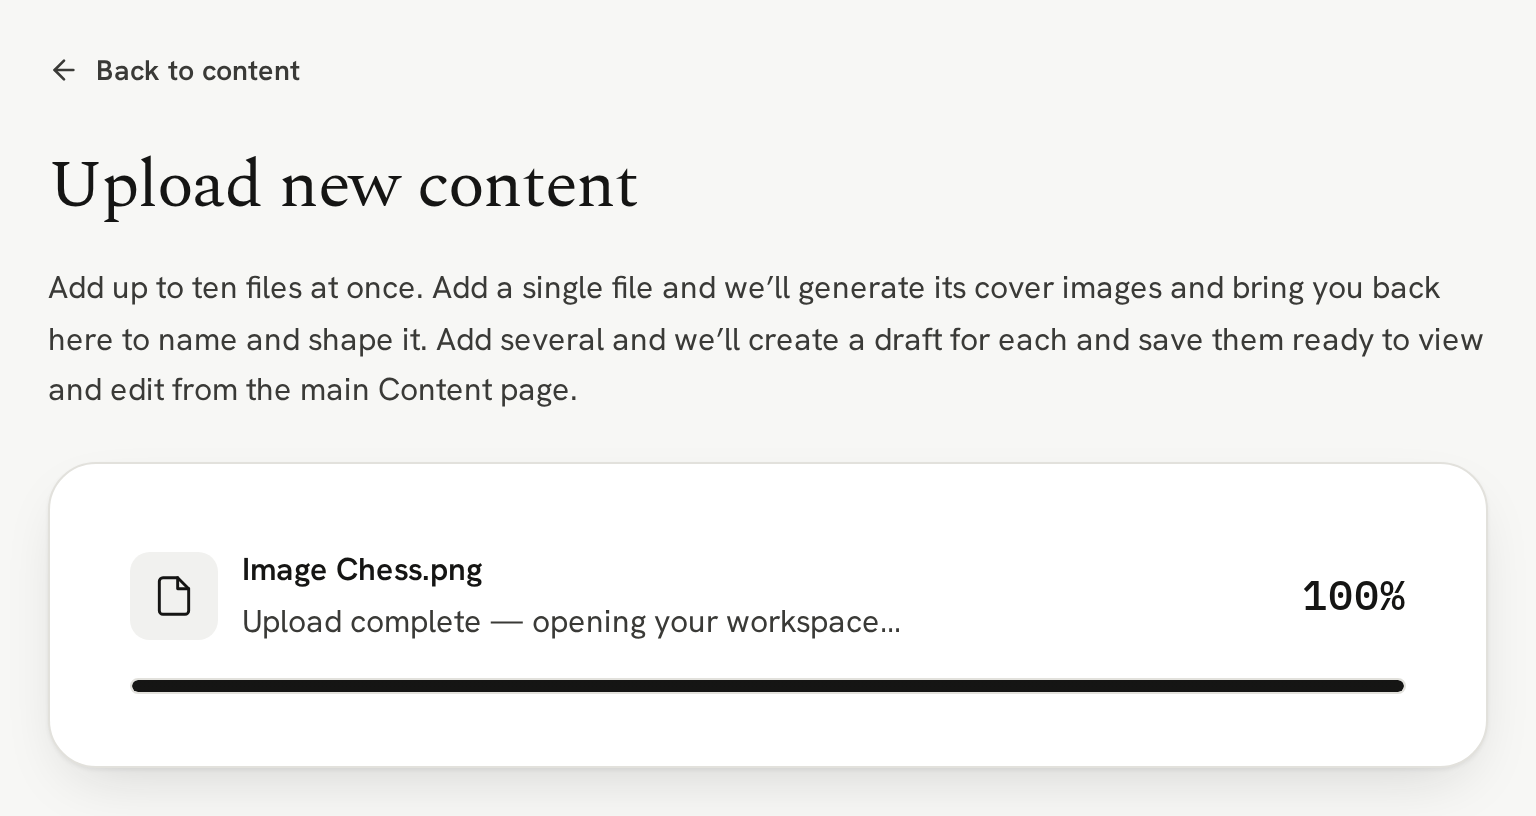
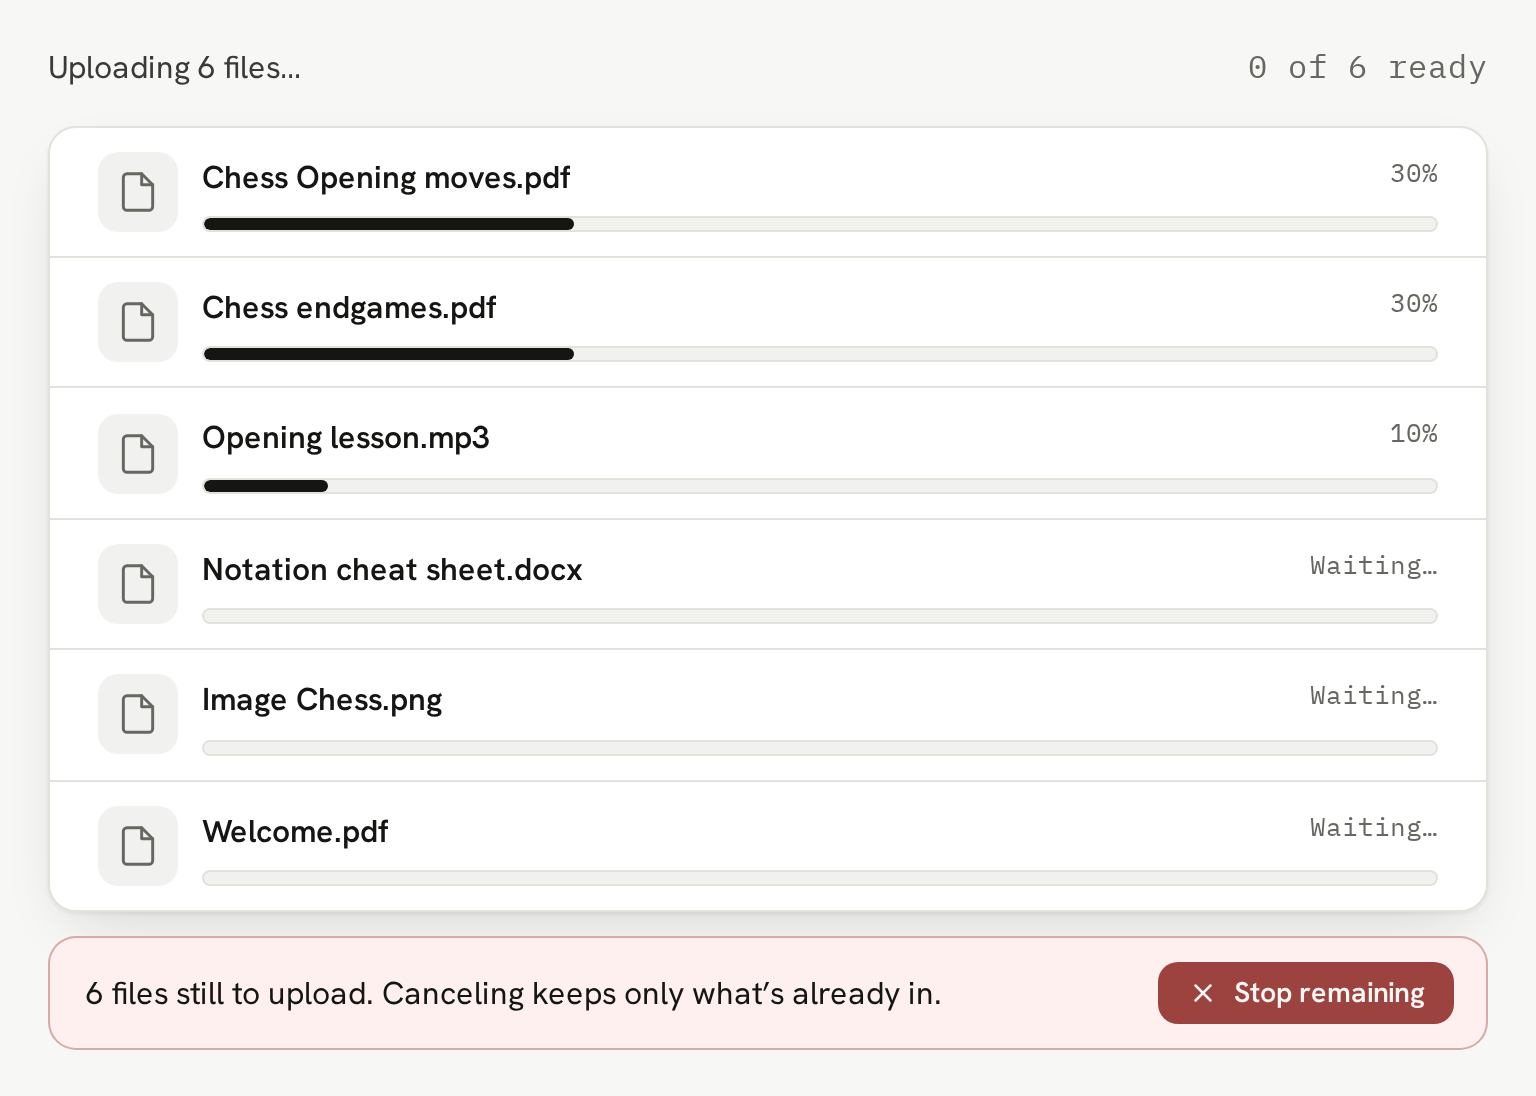
As the item uploads, you'll see a progress bar so you know what's happening. For most files, that will be a quick process but for larger files, or if you have a slower connection, it may take a little longer.
Note if you upload one file, you will be taken directly to that file's details page (we'll look at that in a moment), but did you notice you can drag up to ten items at once onto the upload screen?
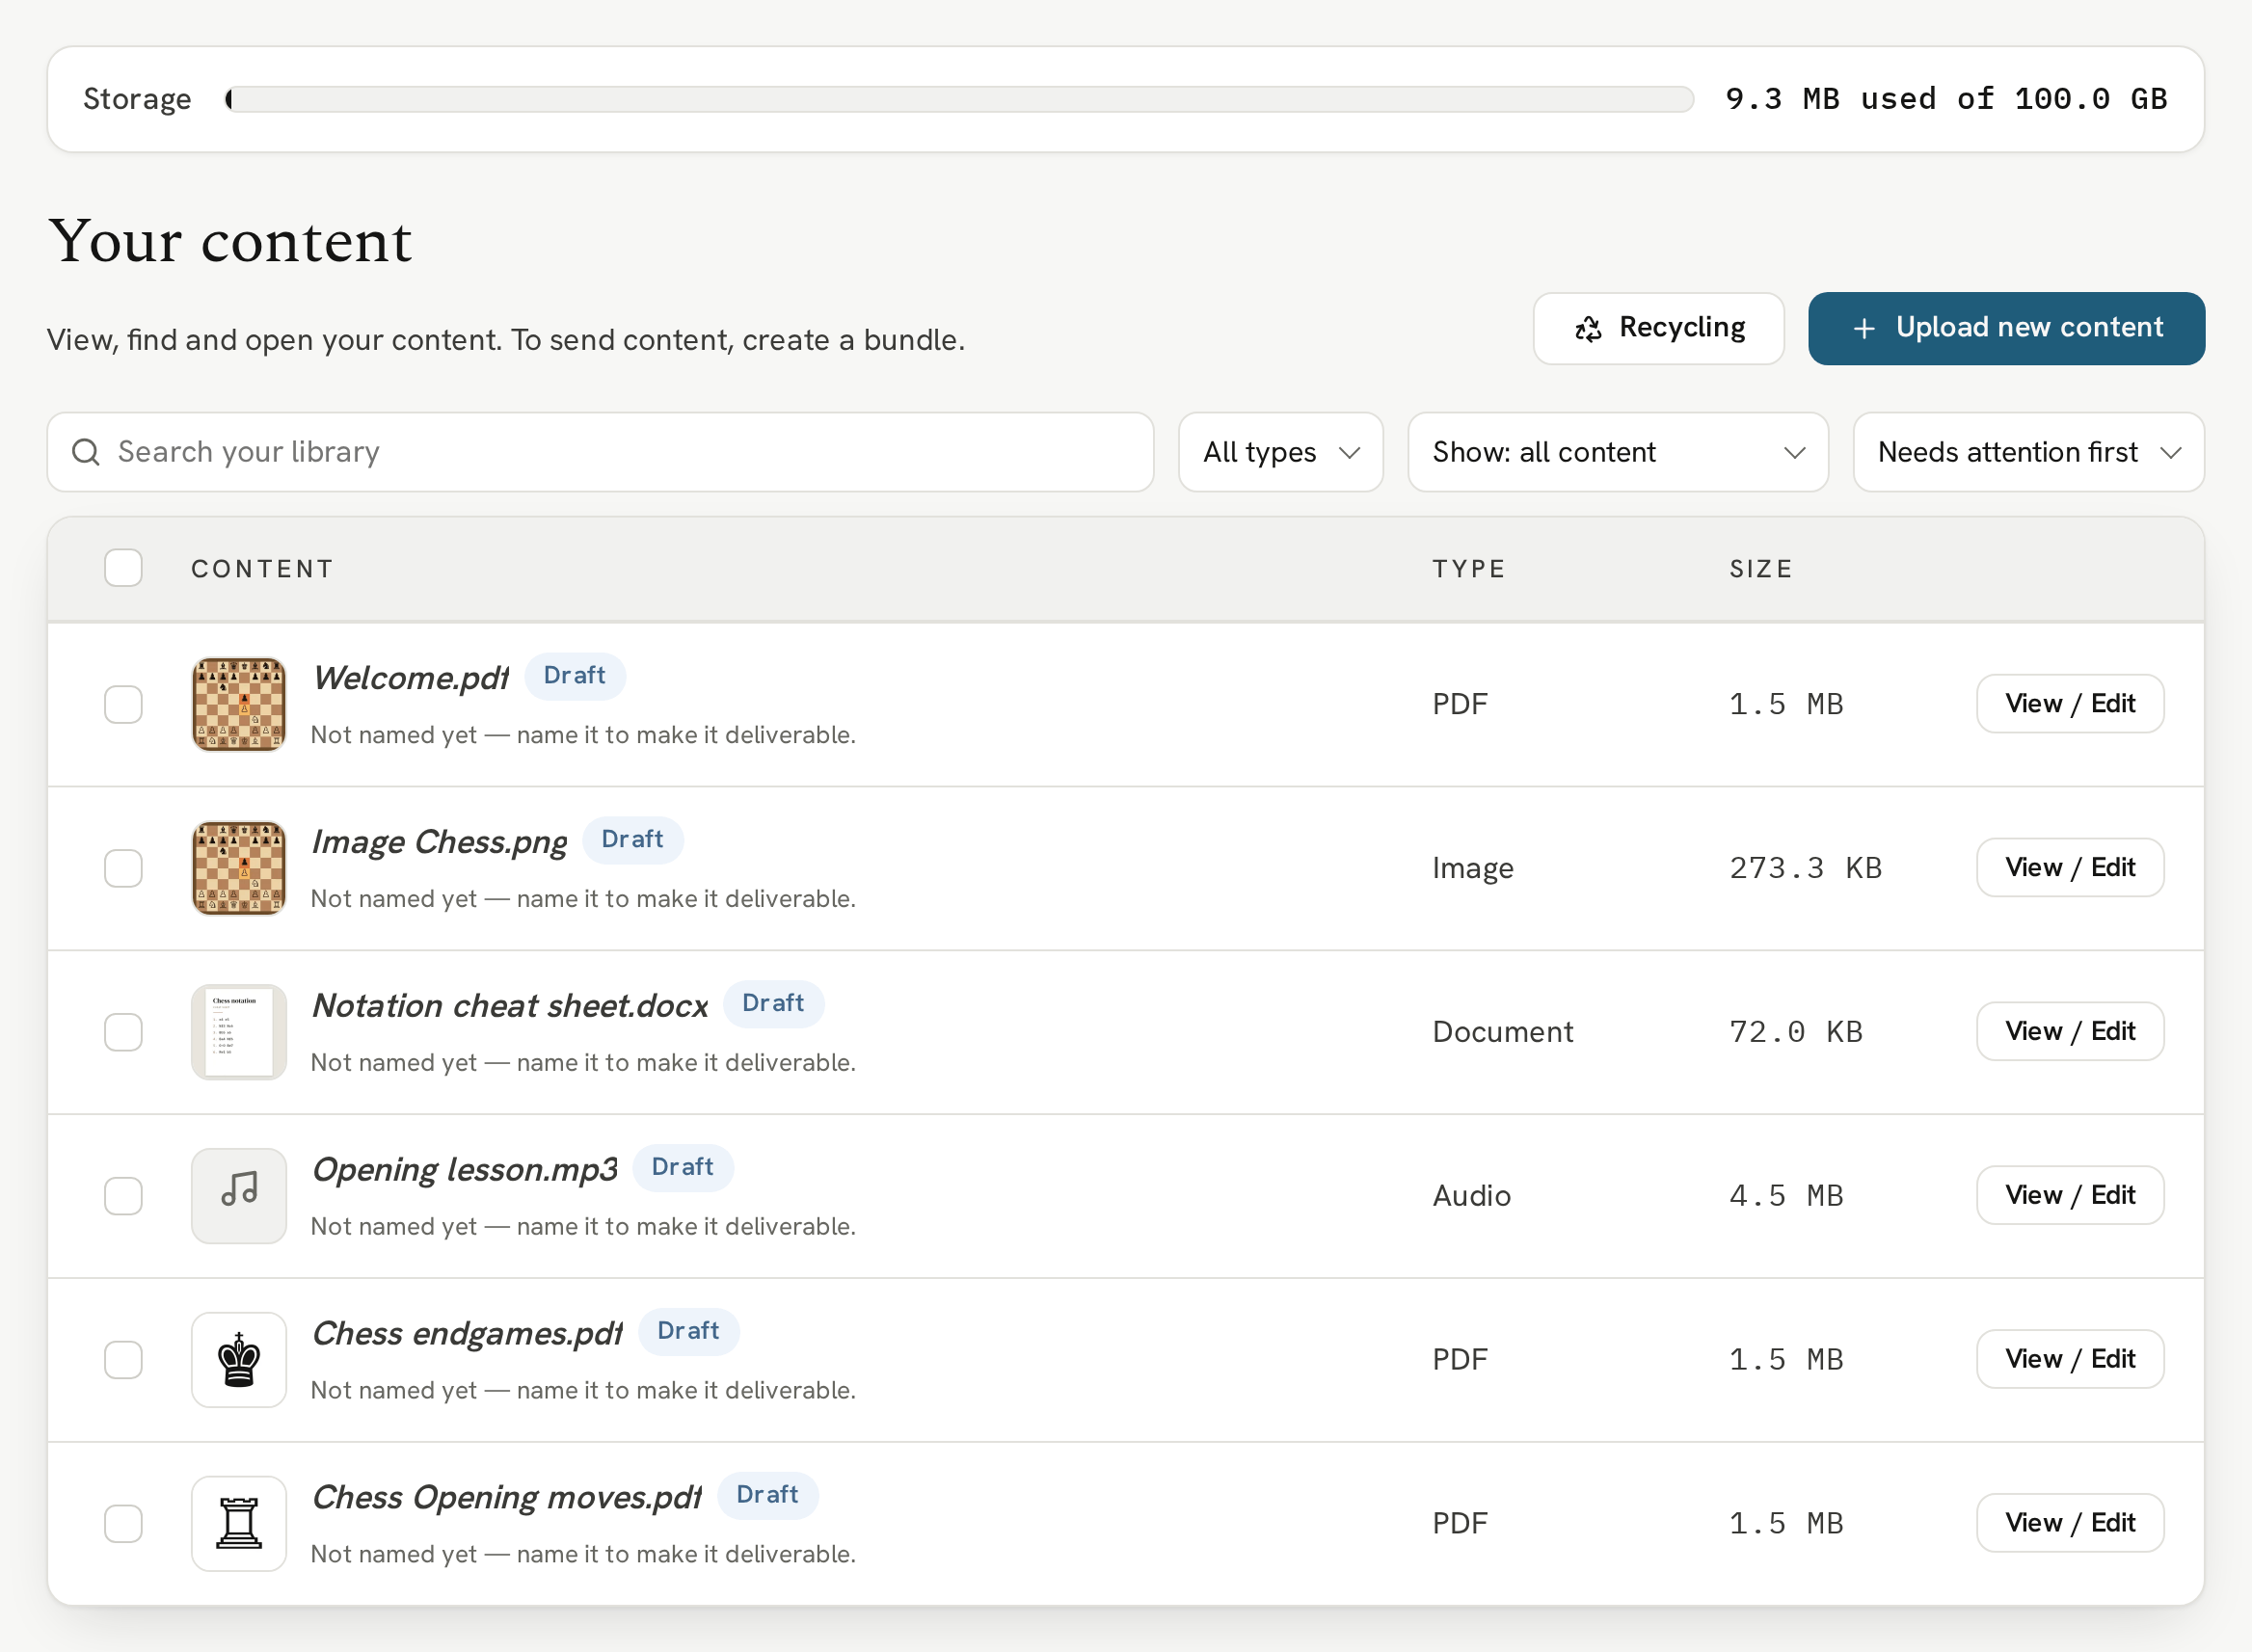
If you do bulk upload items, we'll create draft content for each of the files you uploaded. You can see them in the main content page (we automatically create their cover images) and click into each one to set the name, permissions and so on:
If an image you upload has location data, such as where a photo was taken, its page lets you know, and you choose whether to remove it or keep it. See Why Veluril checks location safety in your photos.
Content details page
Let's look at each section of the content details page in, well, detail:
Naming content
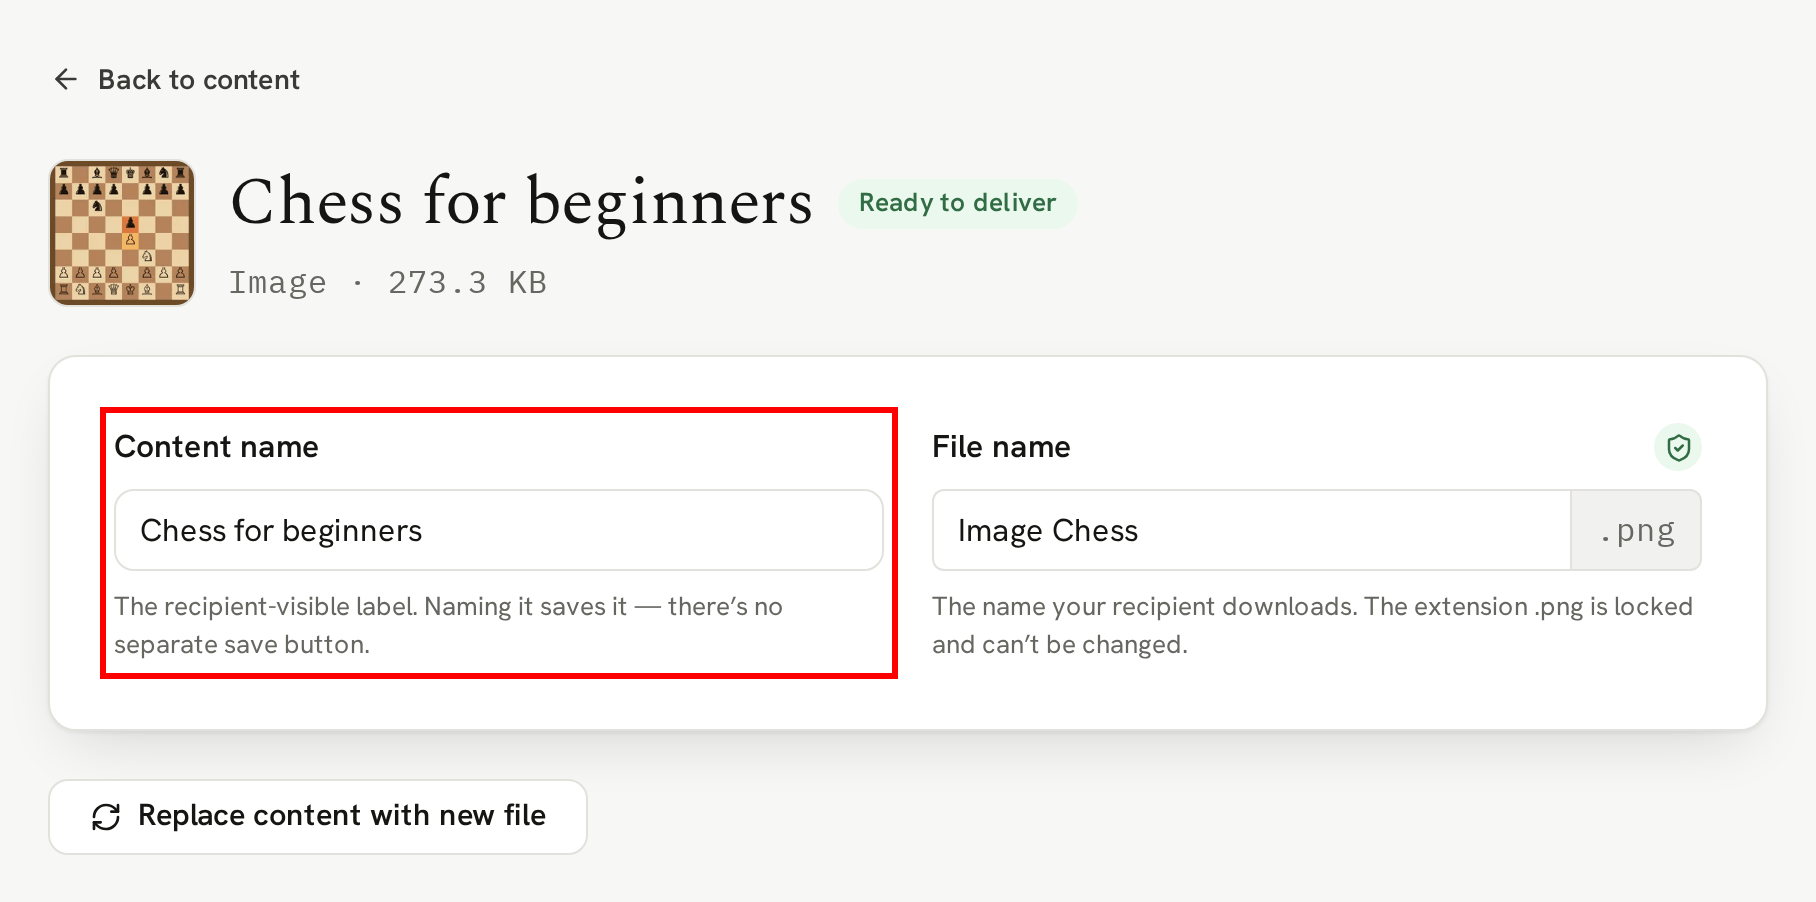
Whether you are automatically taken there on uploading a single file, or you clicked into your draft content when uploading multiple files, when on the content details page, the first thing is to name your content.
This is the name your recipient will see against the file on their download page.
It reminds them what it is.
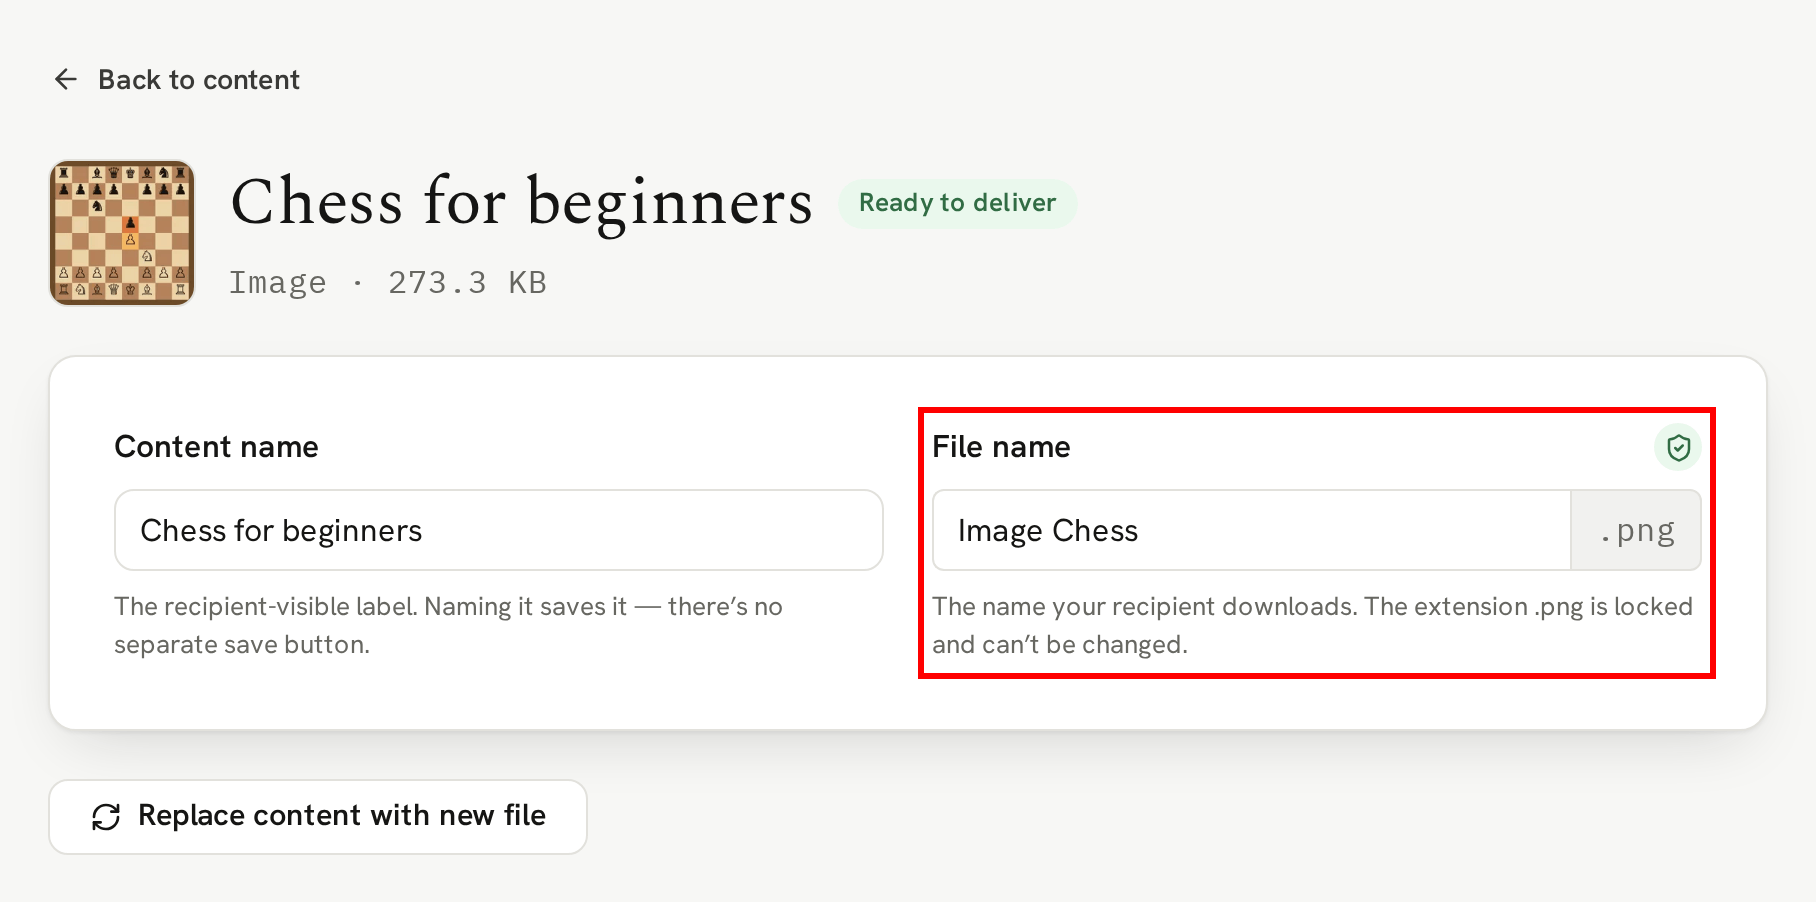
How often is your file named "Chess for beginners FINAL (FINAL).pdf"? We've all done that, but you can also change the file name:
Cover image
When you upload a file we automatically create up to 3 cover images. Most common file types are supported: images, PDFs, Office documents, and so on.
This gives your recipient more than a text link to access their downloads. It reminds them what they are getting, it brings life to the download process and it makes selecting the file to download much easier when the bundle contains multiple items.
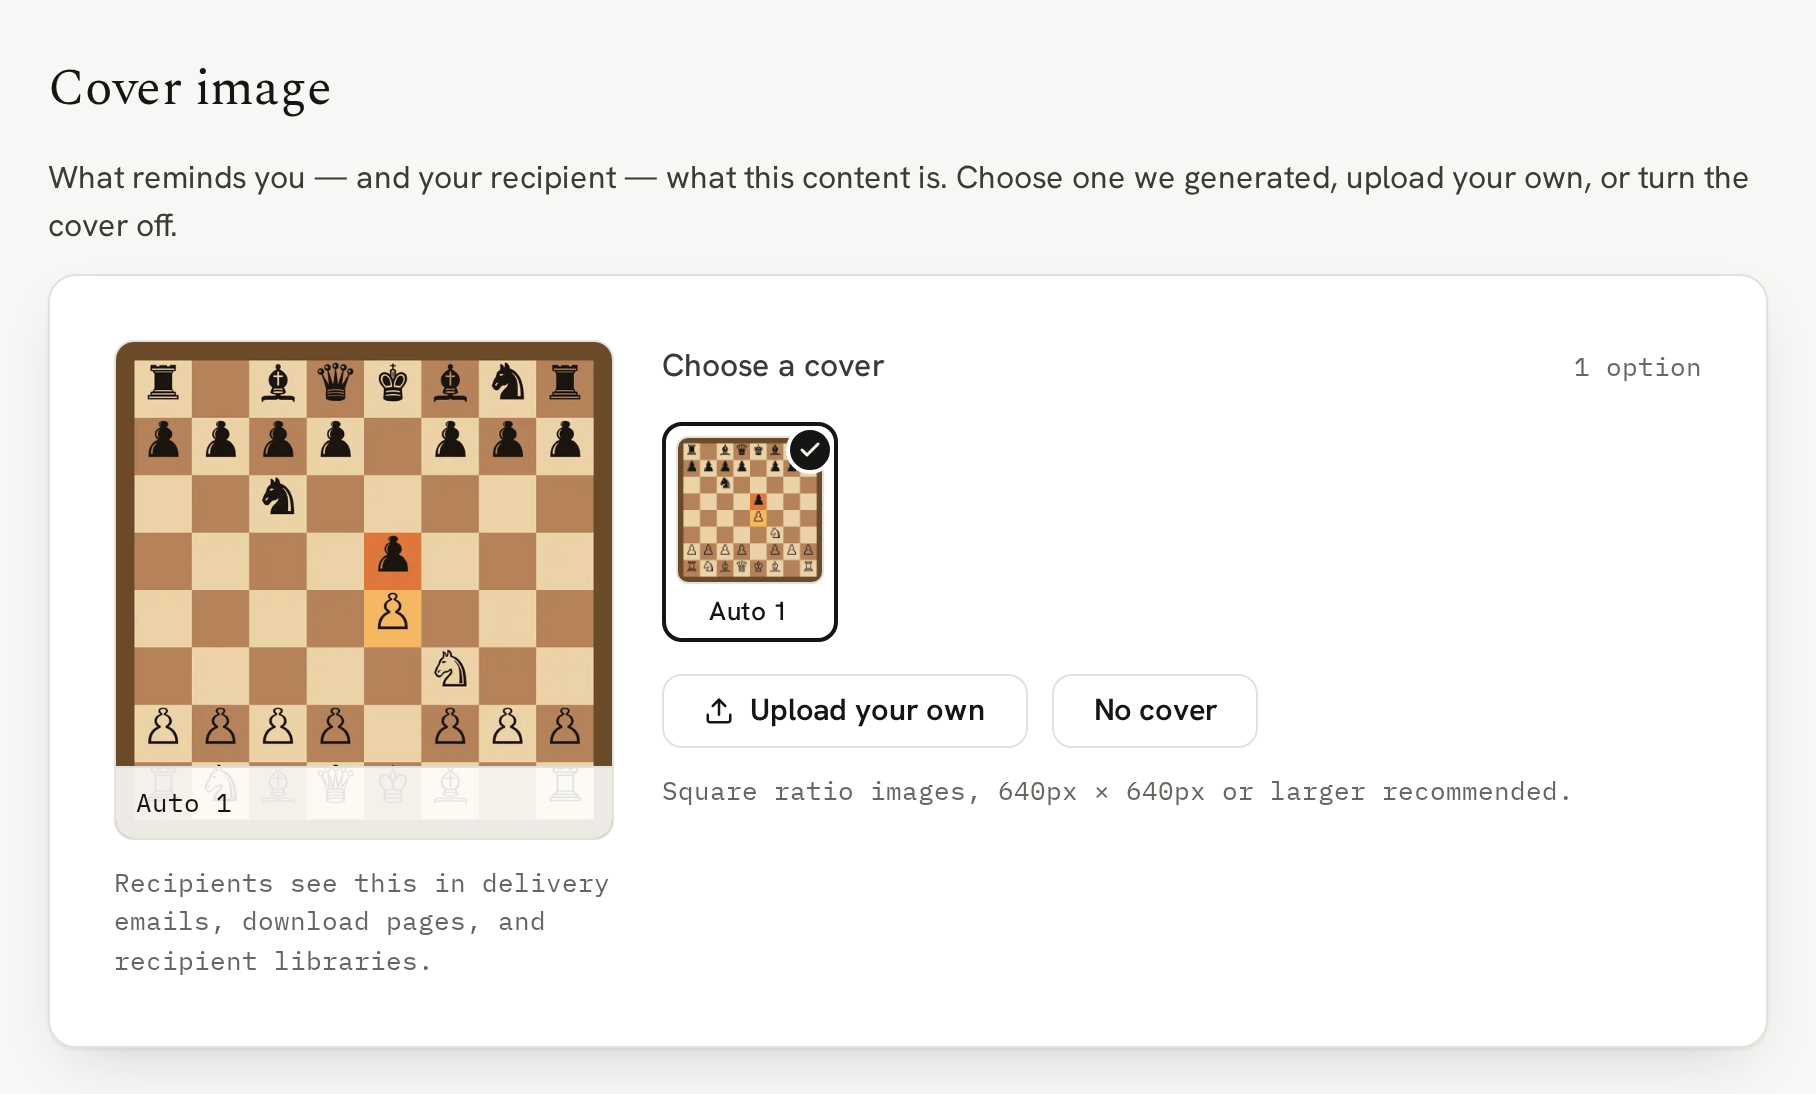
It also makes curating your Library content much easier as you can see at a glance, what content is what.
If you prefer, you can upload your own cover image instead. We recommend a square ratio image, 640px by 640px or larger.
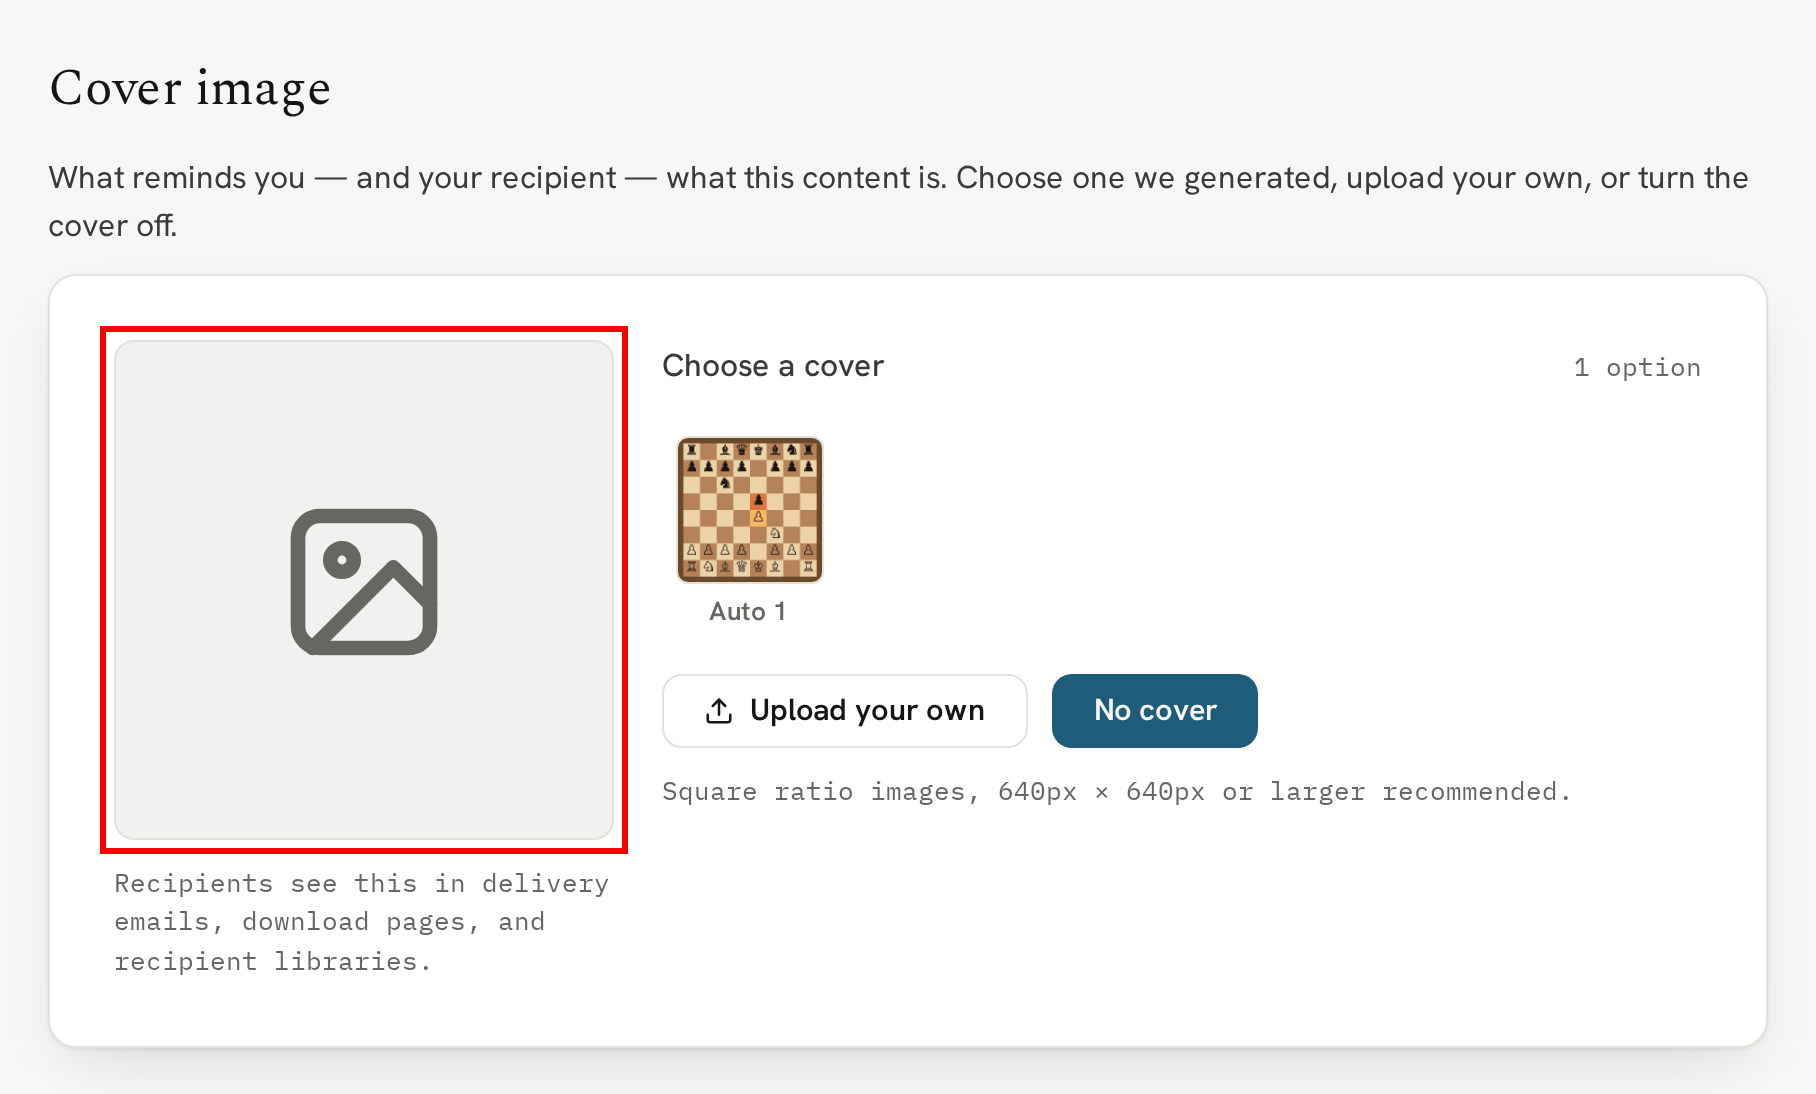
You can also select 'no cover'. In which case we will show a file type icon:
Bundles
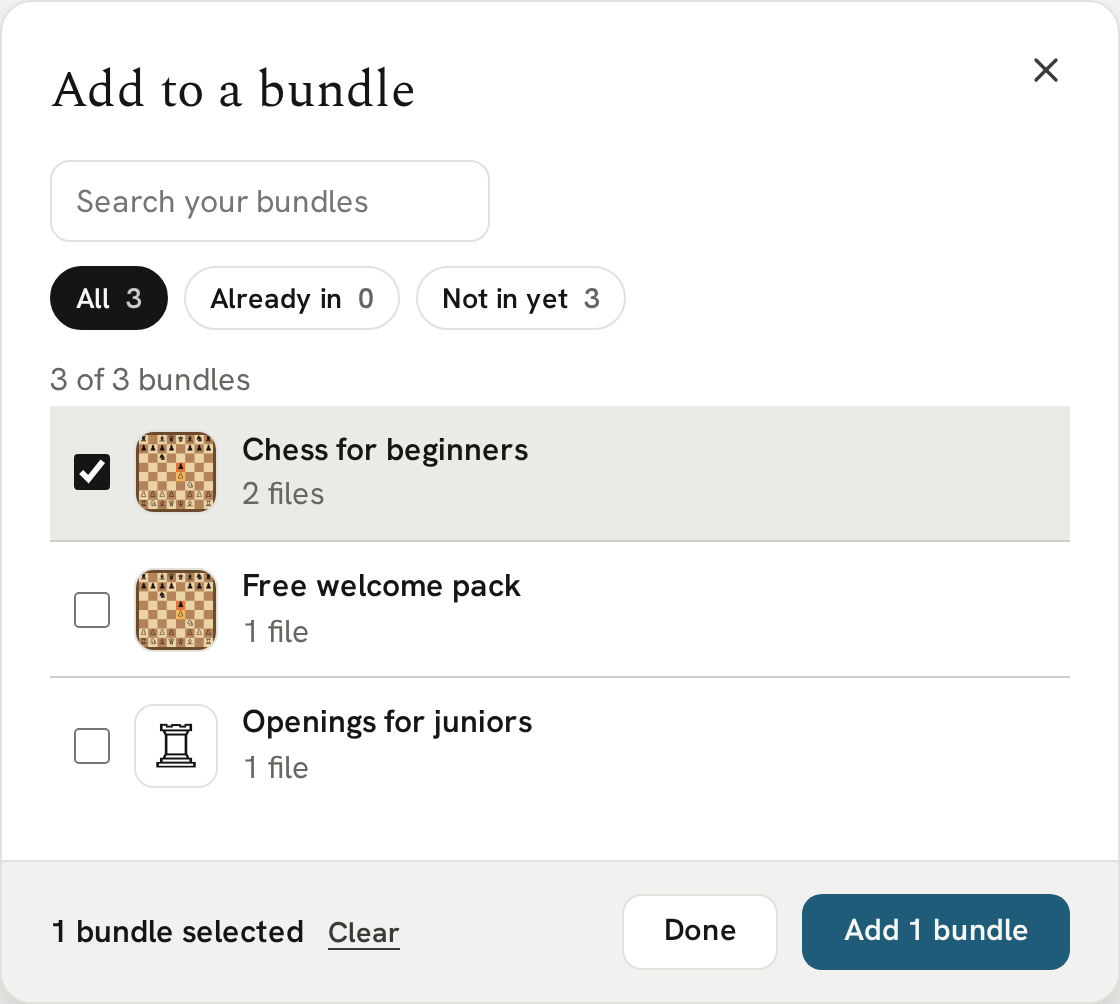
The bundles card is where you either create a new bundle to deliver the content or where you can add it to an existing bundle.
Imagine a scenario where you completed 'Week 2 coursebook' of your Chess for beginners course. In which case, you would click "+ Add to an existing bundle" and select the "Chess for beginners" bundle.
That would add that content to that bundle. Everyone who already received "Chess for beginners" gets access to the new content straight away, on the download page they already have.
Because people already have that bundle, Veluril asks whether to email them about it, and tells you how many people that is. Choose "Yes, let them know" and they get an email naming the bundle, with a button that opens their delivery. Choose "No, don't email" and they still get the new content, just without an email.
Content security
It's important that your content and recipient download pages are secure from sharing. We offer a unique two layer system of protection.
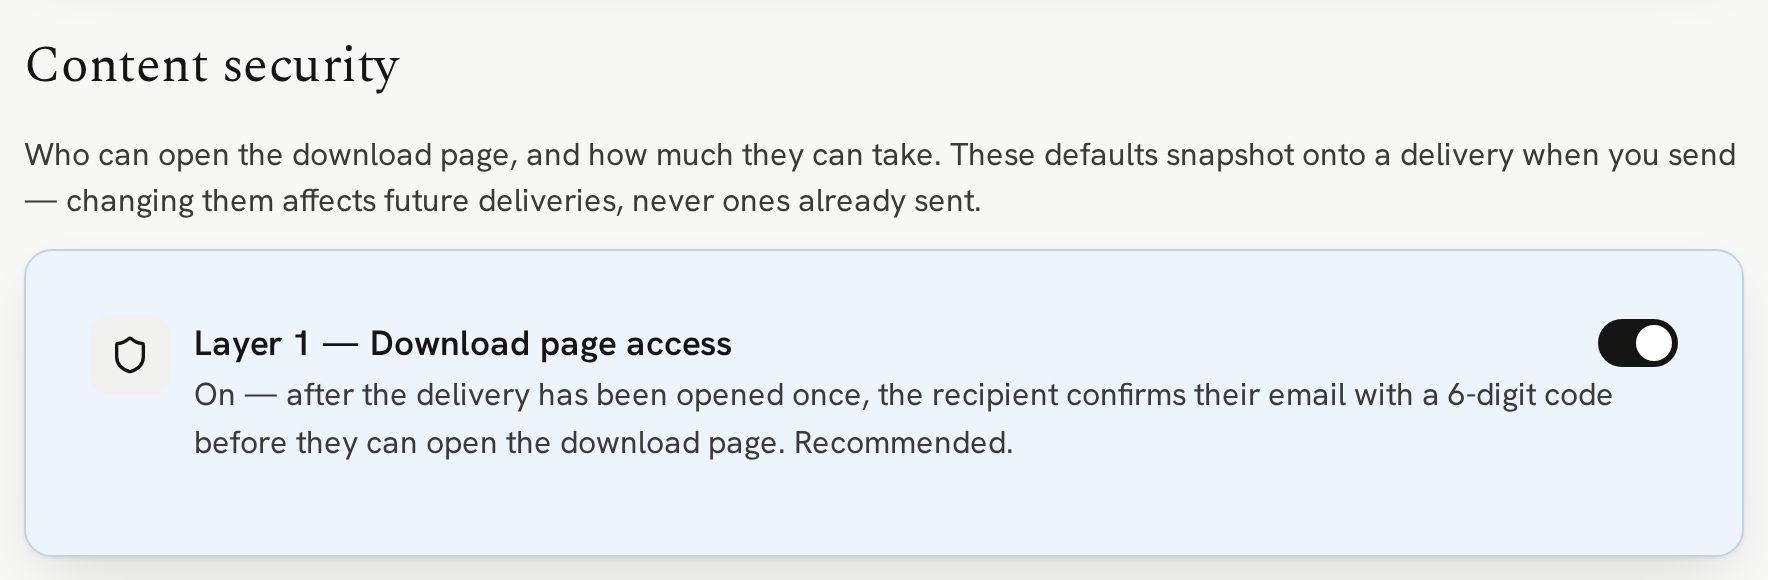
Layer 1 security
Layer 1 prevents anyone other than the recipient accessing the download page. While it's true the download page has an unguessable URL, the recipient can still share it with someone else.
By default, we enable Layer 1 protection which, after the first download, requires the recipient to confirm their email address. We send a 6-digit code to their email which they then enter. This stops anyone without access to the recipient's email from accessing the page
While we recommend leaving Layer 1 enabled for all paid and sensitive content, you can disable it at anytime. For example, if you had a lead magnet where you would want the download page shared, you would disable Layer 1 security.
To see what the recipient sees, read How the recipient confirms it's them.
Layer 2 security
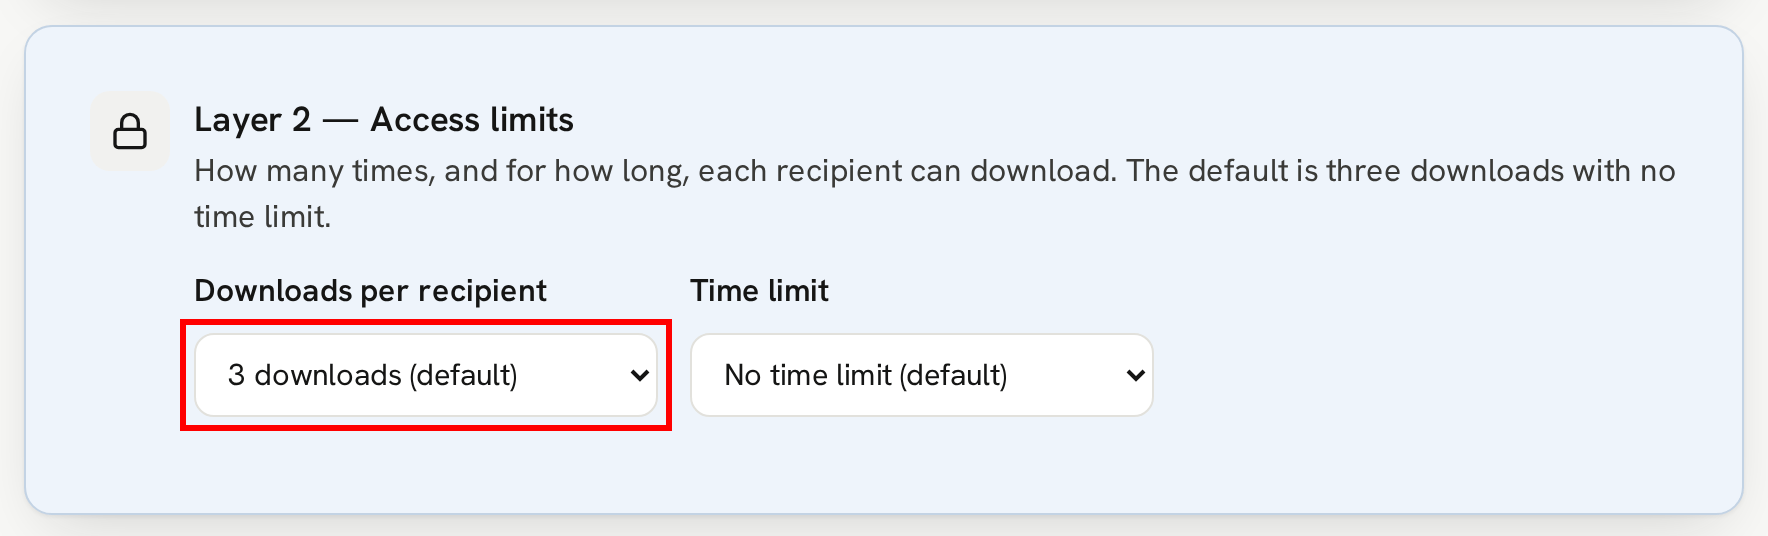
Layer 2 is the content's access limits. So even after the recipient has accessed the page, you can set the number of times the file can be downloaded, and then apply a time limit.
By default, we set a download limit of 3 times, and no time limit.
You can, of course, remove the download limit and set it to Unlimited.
Recycle
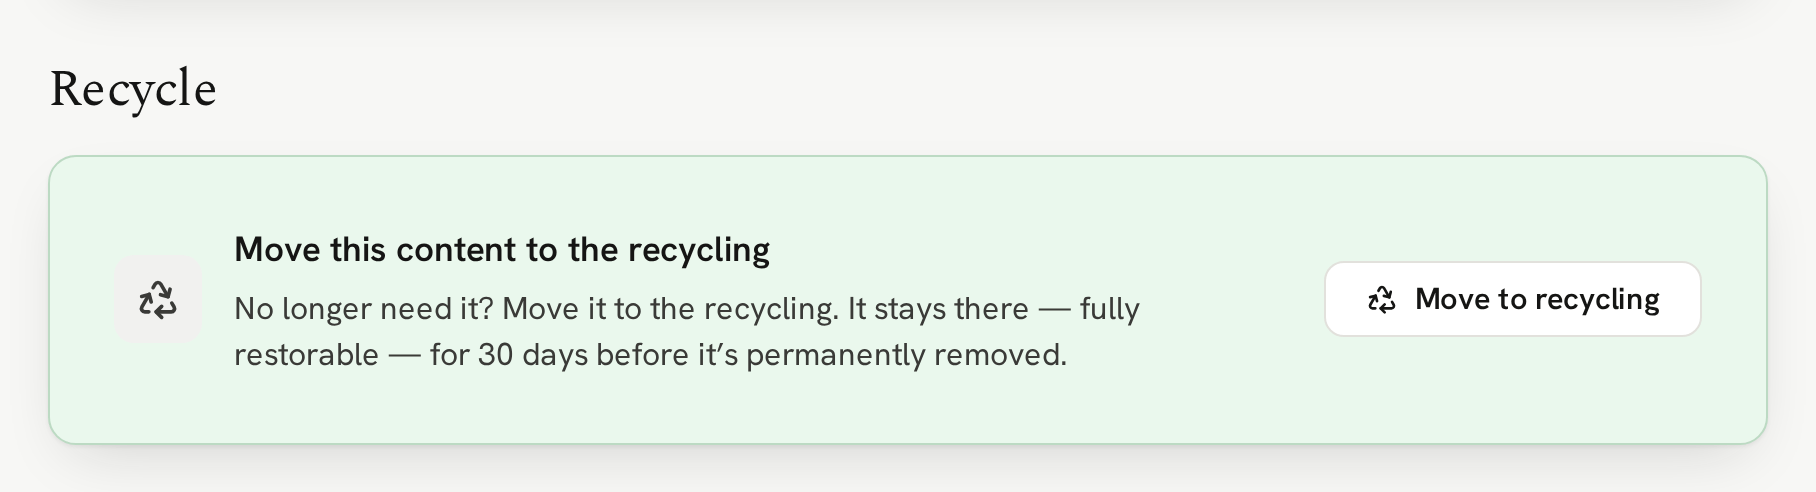
If you no longer need this content, you can move it to the recycling. Anything moved to the recycling can be restored within 30 days so if you make a mistake (we've all done it!) and removed the wrong content, you can simply restore it from the recycling with one click.
Activity
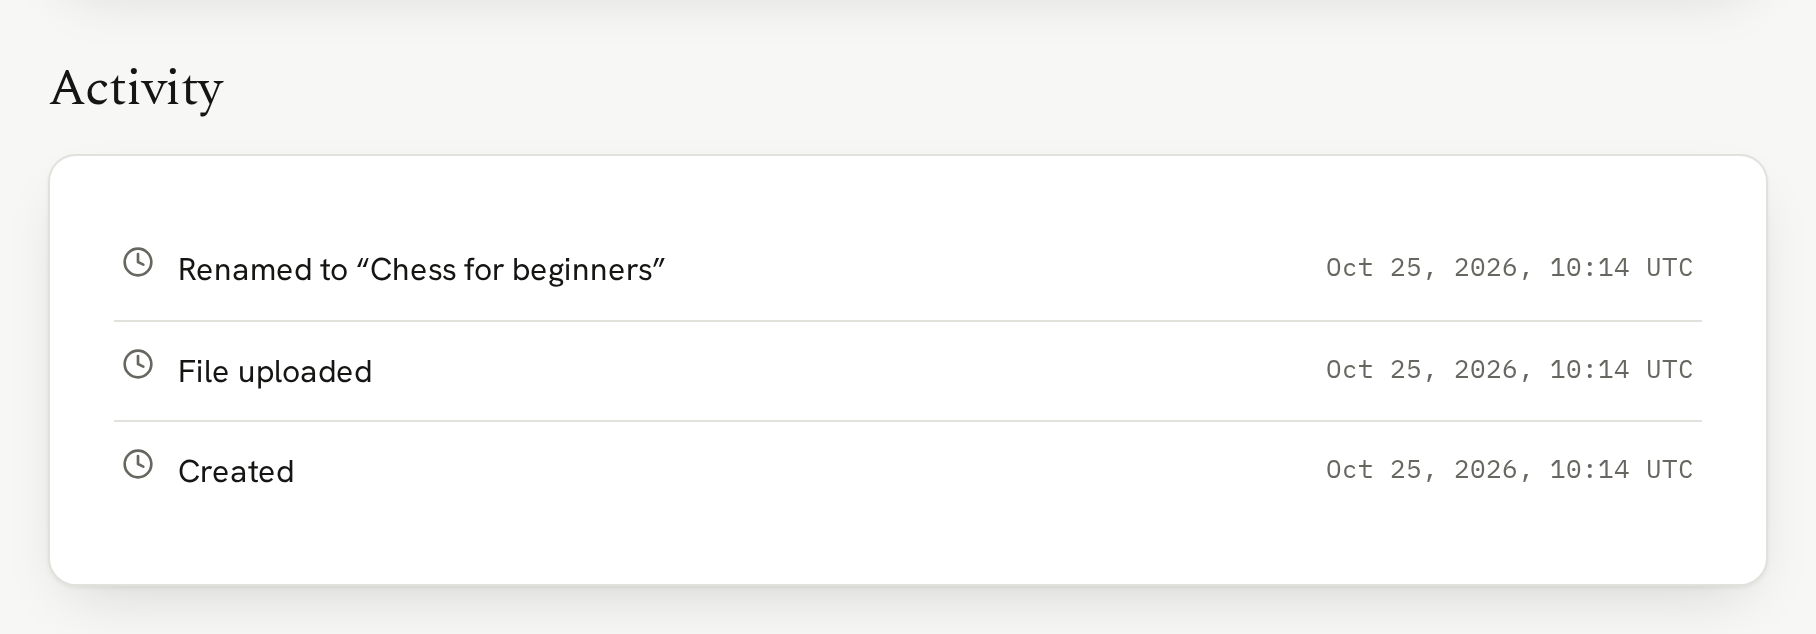
Lastly, we show the content activity log.
It shows you when anything changed so you can keep track of when a file was updated or a cover image was changed.